My snap press has arrived!

I feel a bit silly to be all excited about a slightly oily obviously made for sterner things snap press but I am!!! I have been wanting one of these for ages and they are so much cheaper to order her in Oz so I decided to go for it and get one! It is a KAM press which are meant to be the best at the job. I spent ages debating on whether to get the DK-93 model or the DK-98 model. The 93 being smaller, lighter, prettier (a nice green and a graceful handle!) with screw in die sets and the DK-98 sturdier, heavier and not so pretty (kind of a baby-poo brown :lol:) with slide in die sets that you tighten with an Allen key. Anyway after much deliberation over head v’s heart I decided to go with the DK-98 model – I can always spray paint that baby to suit my sewing room when I get one!!

First view in the box!

Out of the box waiting a clean (yuck it was very oily and dirty – they warn you that is how it comes so I made sure I gave it a good wipe!) and it’s handle attaching.

The man shape helped me screw it all together (he likes doing that kinda thing so I’m nice and let him πŸ™‚ )

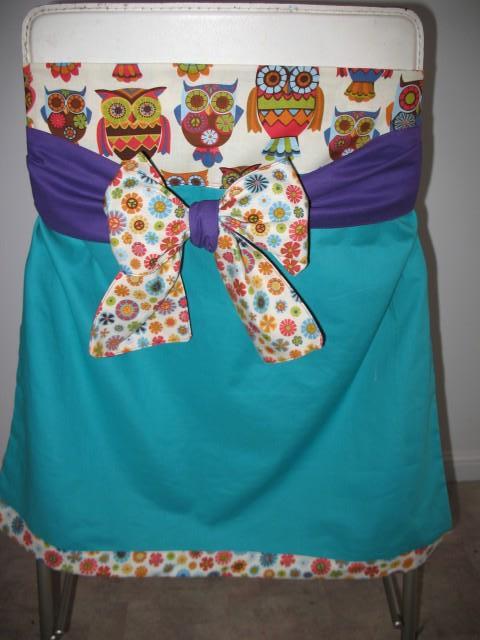
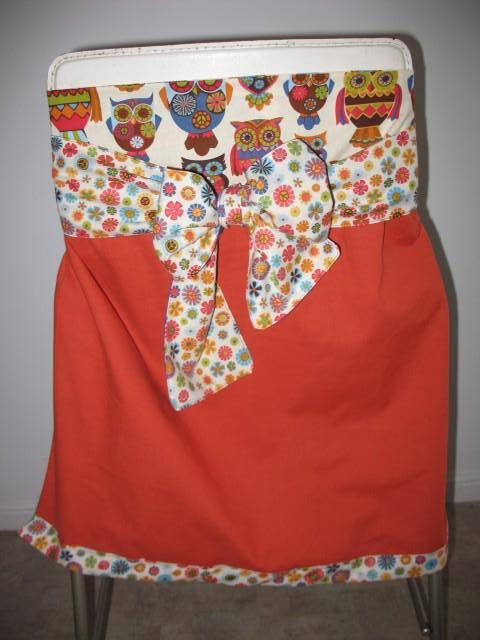
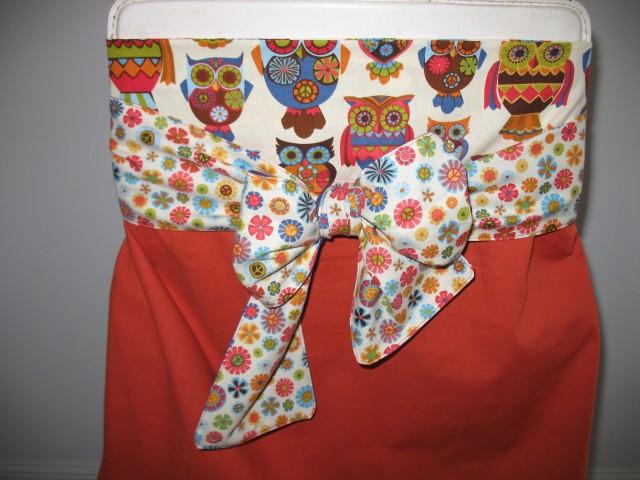
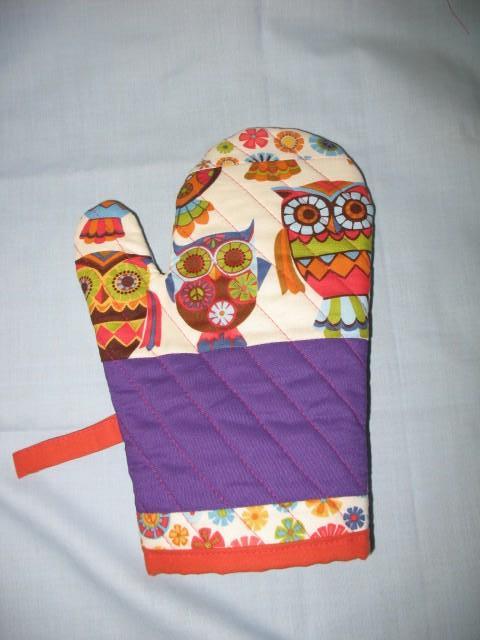
We then had a good play and got some of the little suckers attached to some material! I’d ordered a full set of white, navy, and pink (which is a bit lighter than I’d hoped but never mind!) and some 1/2 sets of light blue, lime green and pumpkin orange!

I can’t wait to use them on a project – just not sure what yet – ideas on a postcard please!

The only project I have on a to do list is Joshua’s quilt cover which I need to get done from some flat sheets. He wants a scene appliquΓ©d on it and of course the easiest for kids with a duvet cover is snaps so that will take up at least 8 of them!!

Stash building!

For those of you that sew you’ll understand the important art of stash building – you know when you have to buy any gorgeous material that you see because your stash obviously needs more building done to it ;)!

I have discovered that the best way to stash build is to explore the delights of all the fantastic American on-line fabric shops. I know that I should support my local shop (and I do when I can) but we are talking some pretty major savings. I’ll give you an example – Amy Butler (or any other of your yummy designers) fabrics retail here in Australia for around $28/metre – those exact same materials are sold in the US for around $8.50/yard. Of course I need to pay my post as well but USPS do a flat pack envelope that you can fit about 8 yards in for $14.95, so it works out less than $2 a yard extra in postage. What can I say – I’m a student, I’m a thrifty girl, I just can’t justify spending nearly 3 times the price for exactly the same material ! I’m glad I shared that with you – my guilt is slightly reduced :).

My most recent order was delivered yesterday (just about a week from ordering – not bad). I was so excited! I ordered from the Fat Quarter Shop who I hadn’t used before. I had a lovely email from Kimberly to keep me up to date with the progress of my order and as usual I had lovely customer service (gotta love the Americans for that ;)).

This is what I found when I opened my envelope:

I thought that was fab that it was in a zip lock envelope as the US post envelope is only cardboard so if it got wet your fabric would too!

So this is what 8 yards looks like (I got 2 of the fabrics with 1.5 yards to make some PJ pants for me and probably another apron with the other). Mmmmmm yummy colours jumping out:

I thought I’d just add in what the fabrics are – top left to right:

Art Gallery Fabrics: Alhambra II Garden Cashmere Cameo

Amy Butler – Soul Blossoms Lemon Daisy Paisley

Art Gallery Fabrics: Alhambra II Green Granada Arches

Bottom row left to right:

Alice’s Wash Day blues Cream Embellished Floral (Circa 1880 – how cool!)

Ann Kelle for Robert Kaufman: Confections Pink Cupcakes and Sweets

Amanda Murphy for Robert Kaufman: Swiss Chocolate Chocolate Lovely Lotus

Amy Butler – Soul Blossoms Tangerine Disco Flowers

I’m very excited and just need to work out what to make now! I often need to sit on new fabric for a while before I do anything as I can’t bear cutting into it! 😳


The Apron Chronicles part I.

It all started with a craft swap I did back in May. I decided to make an apron for my recipient (with a matching oven glove bien sur ;)!). She had specified a love of owls – and lo and behold I’d only 2 months earlier ordered some owl material when I did my fabric order from the States – it was obviously meant to be (as I’d never before had a fancy to buy anything at all with owls on it!). I had this picture in my head of a retro apron with frills and a v neck but I couldn’t find a pattern anywhere in any of the free online tutorials – which to this point is all I’d used to make things. As I searched I found a gorgeous cafΓ© style apron – very simple but with a lovely big tie and I decided that was the one to show off the owls and the bright materials – I was so happy she said she loved brights as it gave me a chance to let loose :)! I love love love it and wanted to keep it!

It was fully reversible which I thought was very cool!


My first attempt at an oven glove to match – I used ‘Insul-bright’ a insulated material suitable for all sorts of projects requiring hot or cold insulating!


I was so inspired by this apron that I continued my search for ‘the’ apron pattern of my dreams and I came across this fantastic book which I immediately purchased:

With aprons still on my mind we went to the Hervey Bay Historical Village and in the old kitchen I spotted this poem on the wall which I thought was fab:

The principal use of Grandma’s apron was to protect the dress underneath, but
along with that, it served as a potholder for removing hot pans from the oven.

It was wonderful for drying children’s tears, and on occasion was even used for cleaning out dirty ears.

From the chicken coop, the apron was used for carrying eggs, fussy chicks, and
sometimes half-hatched eggs to be finished in the warming oven.

When company came, those aprons were ideal hiding places for shy kids.

And when the weather was cold, grandma wrapped it around her arms.

Those big old aprons wiped many a perspiring brow, bent over the hot wood stove.
Chips and kindling wood were brought into the kitchen in that apron.

From the garden, it carried all sorts of vegetables. After the peas had been shelled, it carried out the hulls.

In the fall, the apron was used to bring in apples that had fallen from the trees.

When unexpected company drove up the road, it was surprising how much furniture that old apron could dust in a matter of seconds.

When dinner was ready, Grandma walked out onto the porch, waved her apron, and the men knew it was time to come in from the fields to dinner.

It will be a long time before someone invents something that will replace that ‘old-time apron’ that served so many purposes.

REMEMBER:
Grandma used to set her hot baked apple pies on the window sill to cool
Her granddaughters set theirs on the window sill to thaw.

Author Unknown


My first apron was of course the v neckline with ruffles! I was inspired by some bird material I had (IKEA) and an online friend who had been going through a rough patch. This is how it turned out (sorry about the pics of me 😳 taken by a 10 year old – I obviously need to get a mannequin at some point!):


I’m pleased to say she received it just this week and it made her day which was exactly the point of it! She also said it matched her personality exactly :widesmile:

I thought I’d try another of the patterns next and found some sweet material that I worked with. This one is going to a friend for her birthday:

The back has a great cross over tie system – very comfy to wear!


I was trying to get the gorgeous curve of the apron but it was really hard – this one shows it the best but you get my curves as well!! πŸ˜†

I have another like the black white and pink one in progress – I’ll let you see it when it is done!

I have a book…..

……. that is quite old and full of jottings of years gone by – nothing majorly important – but little snippets of our lives, a list of rentals when we moved up here, some measurements from our house in France. Nothing important but I can’t bring myself to bin it (even though I have actually bought a new one to replace it!). Besides it still has quite a lot of pages left!

This old book is quite tatty, with bent and slightly rusty (isn’t everything in Queensland!) spirals and a very bedraggled cover. So after a few recent posts on Cloth Nappy Tree about people making covers I decided to try it for myself and decided my poor old tatty book would love a new set of clothes!

I used these tutorials for my basic instructions:

http://www.clothnappytree.com/forum/viewtopic.php?f=29&t=85656

http://craftblog.com.au/2008/07/21/notebook-cover-tutorial/

First I measured it up – look at the poor old thing!

And then I chose my material – I used 2 fabrics from Amy Butler’s Midwest Modern collection that I ordered a while back from the States and haven’t cut into yet! It is pretty basic – a large piece, 2 smaller ones for the inside and 2 pockets.

The instructions said to use batting – I chose to do it with iron on stuff. Unfortunately I managed to catch one edge of my main bit of fabric on the rough side of it and ripped a whole heap of threads off one side meaning my material was too small – oops!! If you give this a try don’t be a doofus like me as you’ll have to sew an extra bit on!

The next step is to hem the pockets and then sew the inner flaps – you need to make sure that you sew the opposite sides so that the sewn edge is in the centre on each side:

I really didn’t like the look of the batting showing – I knew that it would really be seen but I’d know it was there and I decided I couldn’t deal with that 😳 – at this point is was very late so I gave up and went to bed!

Next morning I decided that all it needed was a strip a bit wider than the gap before I sandwiched and sewed it all together (look at that poor old tatty book getting excited!):Next step was sewing it all together (that’s my lovely Husqvuarna Emerald 122 that I got for my birthday last year πŸ™‚ ). You can see about 1/2 way down that there is a row of stitching where I’ve sewn up the cover where the gap is – this didn’t go so well – I wanted to do a kind of rolled hem but it was all too small, too fat and just fell apart leaving me with a raw edge (I can’t deal with raw edges ) so I ended up kind of tucking it all in and just about doing it but I’m not 100% happy with the results of that little edge.

Here is the finished results πŸ™‚ pretty happy with it and I’m sure my tatty old book is too!

The interior with the book inside. I think the pockets need more stiffness and as I said above not very happy with the way the edges worked out with this method but all in all much better than it was! If anyone has used another pattern / tutorial to make a notebook cover please link me to it as I think I need to make some changes for the next attempt!

I’m so glad I made this and shared it with you instead of doing my assignment 😯 πŸ™‚

Looking back to May 2011 – Fraser Island – Day 1.

We’d never been over to Fraser Island so when we heard James and Naomi were coming to visit we knew it was a fantastic chance to do it – so it was a hugely exciting trip for us all. Josh had recently been over on a school trip and we didn’t have room for us all in the 4WD so that worked out well as he was more than happy to stay with a friend. We got off at Wanggoolba Creek which had nothing other than the ramp to get off the barge and it was straight onto the dirt roads which were fantastic – freshly graded and really easy driving.

First stop was Central Station which was the main logging area back in the day. It had a kind of open-air museum with all the old buildings, and a rain-forest micro eco-system with a stunning creek and a board-walk through the rain-forest.

The water in the creek was so clear it took us a minute to even realise it was there! We were told by a guide we ran into that Fraser Island has some of the purest water on earth due to the filtration through the sand.

CreekThe board-walk enabled us to get right up close in the forest without damaging the fragile eco-system. There were longer walks you could do but we were very aware we only had the 2 days so had to keep moving so just took the shorter option.

BoardwalkStunning flora was everywhere we turned – and it was wonderful having the talented Naomi to take the pics!

We were then told by the same guide to skip Lake Mackenzie (the famous one where all the pics are taken and I believe I saw Billy Connelly dive naked into on one of his travel shows!) and go to Lake Birrabeen instead so we headed there from Central Station. There was one couple leaving as we arrived to this:

Steps to lake

Lake B FraserFraser is famous for it’s perched lakes, formed by organic matter breaking down and forming a crust over the sand which enables a lake to form. The water is so clean and so clear after being filtered by the sand that you can see the brown tannin stain in the crystal clear water from leaves breaking down – just incredible! The sand was so white it just didn’t seem real and it even felt a bit strange (and squeaked when you walked). We had our lunch here, being very, very wary of any dingoes and keeping Louis in arms reach at all times – there had been another attack on a child only a few weeks earlier.

Tree by the lakeA rare photo of the ‘little’ brother and I (I still smile when I remember their visit and can’t wait to catch up with them back in Europe!)

We had to keep moving so carried on across the island as we were camping on the eastern side and needed to be wary about the tides as we had a set time we could safely get up the beach. The roads were surprisingly good having just been graded – we were there mid week following 2 extra long weekends, where they had stopped issuing permits to go out there it was so busy. We were so blessed with our timing as we practically had the island to ourselves! We had a quick pit stop at the last of civilization at Eurong for a coffee before getting out onto the beach.

WOW is all I can say – we were all euphoric it was just the most amazing experience from the second we hit the beach. The Pacific Ocean pounding the beach to our right and the sand stretching ahead as far as the eye could see – we all had silly grins plastered on our faces and kept laughing with the sheer joy of it as we speed up the sand highway!

75 Mile BeachOf course we made James get out and get a pic!

Car on beachThe map insisted that we don’t go swimming along this coast as there is huge packs of large and deadly sharks that patrol the beach, it also warned that we needed to keep our eyes out for and give way to planes landing on certain stretches! Errrr – J – please avoid the one ahead!!

After managing to get around a rock outcrop (you can just about see it in the first picture of the beach) without getting too wet we soon saw something on the beach ahead – The Maheno – wrecked on the the island many years ago and slowly rusting away – just amazing.

MahenoHere is a rare couple of the hubby, Boy 2 and me

We had to keep moving to be at the campsite well before high tide where the beach becomes unsafe and undriveable. We chose one of the few dingo fenced sites as we weren’t taking any risks traveling with Louis.

Darkness falls quickly in Queensland so we only just had time to get our tents set up and organised before night fell and we settled down for a BBQ and an evening playing Yatzee!

Thank you to James and Naomi for the pictures πŸ™‚ – we decided that 3 cameras on the island was overkill so we left ours behind!

Looking back to May 2011 – brotherly visit from the UK!

We were so excited to have brother James and lovely sister-in-law type person Naomi visit us from the UK back in May. Initial concerns, before their arrival, about not being able to understand a word that Naomi said in her lovely Welsh accent were largely unfounded – no doubt in part due to me now being an avid Torchwood watcher and therefore quite used to hearing Gwen since last meeting Naomi! The only slightly sticky moments were when she sped up after a few wines but that would have gone both ways no doubt!

We started their visit as soon as they got off the plane by taking them to the Boat Club here in Hervey Bay – we figured it was difficult to fall asleep if you were having a beer overlooking the sea, Fraser Island and the marina!

Boat Club Hervey Bay

Naomi and I were most excited to see someone with a fun cocktail and our sensible white wine spritzers suddenly looked a little boring – nothing that an umbrella wouldn’t fix πŸ˜‰ !

Next day we headed to the beach to show them the difference between a Welsh and Queensland one:

Hervey Bay beach

Not sure if we had them convinced with that first beach so we organised a trip out to Fraser Island for later in the week!

Louis’ Life

I couldn’t resist sharing a couple of recent Louis happenings. Last week he won a principal’s award for being an ‘Enthusiastic Learner’, I went along to assembly to see him collect it and it was too cute – he was so proud of himself!

image

Then this week it was pirate day at school and we had great fun dressing him up for it. I know I’m biased but I thought he was a gorgeous pirate!

image

image

Yes it is winter – and yes they are thongs / flip flops walking past and shorts that Louis is wearing! Oh we are going to get a shock when we get back to France!


France – here we come again!

I think this is take 3 of me trying to start blogging – finally I think the time is right! Life is taking some exciting turns in the next little while and I want to be able to share with family and friends who are interested – and maybe even others one day if I am interesting enough :).

We (hubby, myself, Boy 1 and Boy 2) are returning to live in France later in the year, or early in the new year, which is going to involve another big renovation project, a big garden to tame and make productive, chickens and children to raise and lots of sewing, crafting and creativity to share and blog about! The aim is to live the good life and become as self-sustainable as we can – veggies, chickens, solar panels and anything else we come across on the way.

Brittany is where we have decided to make our new home. We love the Aude, in the south of France, where we lived for 10 years – the long, hot summers and the proximity to the mountains for skiing, the Med’ for the beaches and the stunning scenery. The down side was that it was so damn far away from all our family and friends in the UK, meaning flights and car hire for us going back for visits or for those coming to visit us. We hope that by being in easy reach of the ferry ports we will be able to see more of the people that we care about!

In the meantime we are living in Hervey Bay, Queensland and I’m in the last few months of my nursing degree. We have had some great times seeing our area here and have some more trips planned so I’ll make sure I blog about those too!

Here is a recent photo of the boys on a day out in Maryborough, I think they are pretty cute πŸ˜‰

Boys at Cafe

I hope you enjoy sharing our journey!