Garden Part II – summer 2015

The summer of 2015 was hot, hot, hot with days well into the 40’s and most days well over 30 with no rain for months so plans for veggies etc didn’t come through as it was just too hot and dry. Most of the summer was spent just trying to keep the lawn alive, clear up any obvious weeds (including our nightmare Japenese Knotweed problem) and I also got a small herb garden and rose garden planted by the terrace where we spent most of our time when it was warm (right up until November actually as it was such a mild autumn as well!).

This was how I did the miniature rose garden, I dug up the grass as best I could then planted the roses (pink and white alternating – although some had lost all their flowers in the heat so it was a bit of a guess that did work out!):

Then I covered with thick brown cardboard with holes cut out for the roses and covered it all in soil:

Then a final layer of mulch to help further with the weeds and keeping the water in:

In hindsight I definitely did the right thing with the cardboard, I had very few weeds come through. I shouldn’t have used dry grass as the mulch as I think there were still the odd seed in it and I also should have been more thorough clearing out the grass to start with as it has been my main problem! The other thing I should have done was put an edge on as I’m always having grass creeping in. There are lots of things coming up for sale now it is coming to spring so I’ll get something soon to add. Despite the heat they did very well and flowered all summer and right through until November or December. I also don’t’ know how big these mini roses get and I fear I may have planted them too far apart so I’m going to attempt to move them closer to each other I think as I’d like to get a hydrangea in on the end of the bed! If anyone thinks this is a very bad idea please tell me!

I didn’t take many garden pics over the summer but my lovely sister in law Naomi just sent me some so I could share, including this fabulous panoramic one – it makes the perspective a bit odd – the wall is actually on right angles to the herb beds but gives you a bit of an idea:

Our lovely basil and other herbs and gorgeous niece Zelda (her and Rémy are only a few weeks apart and it was so lovely having them spend lots of time together!):

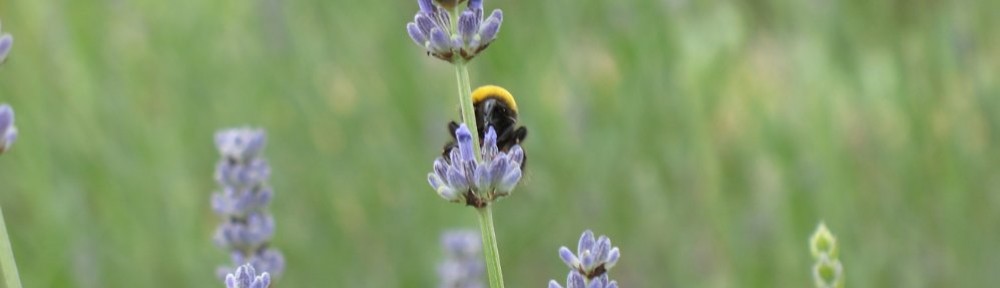
And a little montage of some late summer blooms!

I’ll make sure I get more pictures to share this summer!


The chook / hen / chicken house / coop plans!

For months and months I’ve been planning on getting chickens and trying to design the best house I can for them! Some of the coops online are just incredible and there is so much information out there on what you should (and shouldn’t!) do that the whole thing has become slightly overwhelming!

We are so blessed to have already at the back of the a 2m x 2m concrete base ready to go – I’m particularly pleased about this as it is the ‘gold standard’ for keeping your chickens safe from predators as nothing can dig under concrete! There is also a secure gate to open into the run and even the posts to take the wire in the run! Here was a photo I posted of that corner in another post:

And a rough sketch of the layout:

Within the 2×2 metre coop area the actual house will be the size of a pallet as that is what I’m using for the base (covered in a piece of chipboard then lino for easy cleaning) so that is 1 x 1.2 m.

Our neighbours all have gorgeous gardens (and we are trying to head that way) so want to make something that is attractive as well as practical and safe for our new family members! Here in the Dordogne they have a particular roof style known as the Perigord style so we have incorporated that as a design feature over the coop. Sadly as our house is a barn conversion we don’t have any rooflines like that ourselves so this is an exciting addition!!

The area itself is fairly shaded in the day in the summer but we are going to have shutters on the side facing the house so we can open it up to let air in (chickens need good ventilation), watch them from the house if they are inside and it will also enable easy access for cleaning.

On the southern side the will be 3 laying boxes coming out from the main structure with a fold down door to access the eggs. I’m hoping this is the right decision as I originally had it where you opened from the top which I thought would be easier for the kids to get at but then I was worried about cleaning it – would love to hear anyone’s thoughts on this.

The northern side of the coop is where the entry is and access is via the gate into the run then into the coop. I’m hoping this will reduce the chances of escaped chickens (our garden is currently only fenced on 2 sides and there are wandering dogs). I’m afraid my drawing / perspective skills got the better of me at this point so this only shows the front half of the coop!

And this is the view from inside looking at the house part (again struggling with my drawing skills!):

The area under the house is open for them and I’ll hang their food and water dispensers under there. The ramp will have natural sticks as the treads so need to find some nice ones as they are better for their feet than cut wood, and of course they look pretty! There will be a drop down door to close their house at night with a hook and rope system from the outside.

So there we have it – I can’t wait to get going! We already have the wood for the house section – 2 Ikea futon bases and a pallet for the base so just need to get the rest of the wood and the hardcloth for the coop and chicken wire for the run.

Homemade nettle tea!

Sorry for the lack of posts – our house has a been a constant stream of illness ever since we came back from our Christmas trip to the UK! It is a combination of us not having any European immunity and the mild winter which hasn’t killed off all the bugs! This week we all have shocking colds, luckily it is the holidays (again!) so at least the kids aren’t missing yet more school.

We are getting more and more interested in natural remedies and with lots of lovely young nettles springing up after all the rain we’ve had the man decided to make some nettle tea! I was a little sceptical and unsure how it would taste but I was pleasantly surprised! Nettle tea is good for a number of health issues, it contains lots of fabulous vitamins and trace minerals and is a great support for the immune system. The man felt much better after we had it – I wasn’t feeling as rotten yesterday to notice a difference – but I’ve just sent him out now to harvest some more!