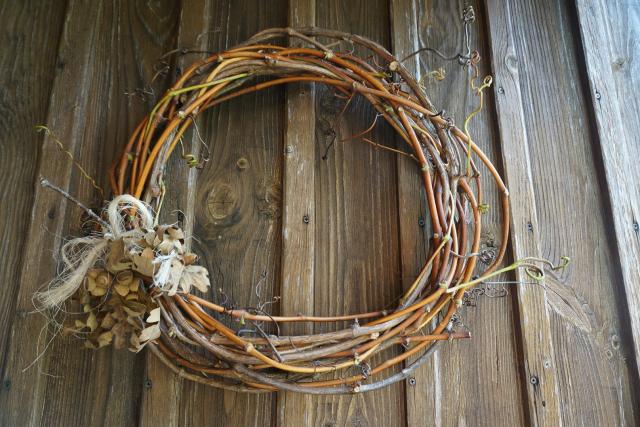
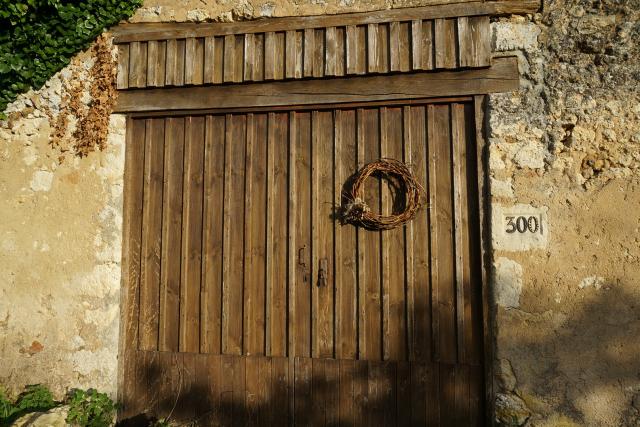
Home made vine wreath.

I have been wanting to make a wreath for a very long time, a simple wooden one that can be decorated depending on the season. Our barn door was looking sadly barn like and the front of the house a little drab and not like a house (well it was a barn and has some characteristics that are more barn than house like!). Someone dropped Josh off after his youth group and commented ‘wow it really is a barn’ which spurred me to take a closer look and to do some quick fixes to make it look a bit more loved and house like from the front!

I had a search online of some tutorials for making your own wreath and lots of them used vine branches – what do you know I have a big one growing (and desperately needing some trimming) at each end of our property! We actually have 2 barns, one that we live in and is in the process of being renovated and the other which is just a barn so to avoid confusion I’ll call the house barn the house and the other barn the barn from here on in!

It was actually pretty easy and fun as well, I think I’ll be making more of them, although I was surprised at the number of vines I used so I’m not sure how many I’ll be able to get from our grape vines.

My first decoration scheme is obviously autumn, with a simple oak twig and acorns. I’m quite impressed with the effect and I think it looks like someone lives here now!

I’ve now added some lovely coloured leaves but it is pouring today so I’ll wait for some sun to get an update photo! Halloween decorations for it are all organised, the lovely couple in our village épicerie (general store) got me in some gorgeous little mini decorative pumpkins. I just need to work out how to attach them!

House hunting in the Dordogne – March 2015

A quick recap of what we have been up to this year. We left Oz at the beginning of February and flew into the UK so we could stay at my mother in laws while we found our feet and bought a car. After three weeks we headed off to France for a house hunting trip (with grandmére in tow to help with the kids).

I wanted to find somewhere central to stay and we found a lovely gíte mid way between Perigueux and Bergerac. If you are ever in the region Thomas and Marion were just lovely and the gite charming and really well equipped http://www.gite-mamet.com/ . If you are there on a house hunting trip or off season it has a lovely wood burner as well as electric heating and they are happy to do long winter lets. It was perfect for our house hunting which took us all over the Dordogne, we clocked up about 2,000 km in the month we were there.

We saw some lovely properties, some out of our price range and a lot that were in our price range not habitable enough for us. We wanted a property that needed a lot doing that would therefore be affordable and that we could make our own but with at least a kitchen / bathroom / 2 bedrooms habitable even if basic. I had a list of what we needed from our new French home and it was something like this:

  • On the edge of a village or hamlet just outside a village
  • Village to have all the basic amenities, primary school, shop, baker, bar as a minimum
  • Not too far to bigger towns
  • Garden big enough to have veggies, chooks etc
  • Preferably a detached property

We started feeling a bit overwhelmed and worried when we hit the final week of our house hunting trip at the end of March and still hadn’t found anything. I went back through all the properties that I’d discounted (mainly due to price). There were a few in and around the same village so I made some appointments in the final week. One agent who showed us a property that we loved the location of, in a hamlet on the edge of a village (with all on my above list and more!). The house wasn’t right for us (no where near enough stone for our liking!) but the location was amazing, great views, set among houses on decent blocks of land (half to a couple of acres), only a kilometre out of the village, I even said to J I’d be tempted to consider the house due to the location. As we drove away there was a lovely old stone barn next door with gorgeous stone work and garden all around and I said to the other half ‘I wish that was for sale’, it was ticking all the boxes! When we got back to the gite I checked our appointment for the next day and I couldn’t believe it but it looked like it could be the same building. We met the agent the next day and sure enough he drove us to the same barn but all the photos had been taken from the back hence why we weren’t sure when we first saw it. Things slowed at this point with negotiations to buy it as it was slightly above budget and the agent went away for a few days and we went back to the UK for our family holiday with my family. It looked like it wouldn’t happen but after a couple of weeks of negotiations from afar we managed to come to a deal!

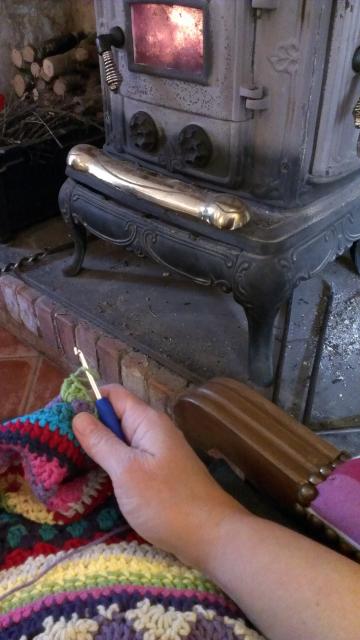
The trip itself in March was great, we had a lovely time with the kids and the MIL, I particularity loved having a wood burner again and sitting by the fire with my crochet!
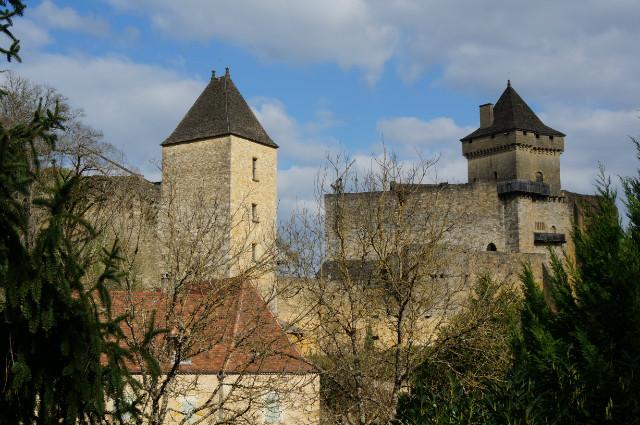
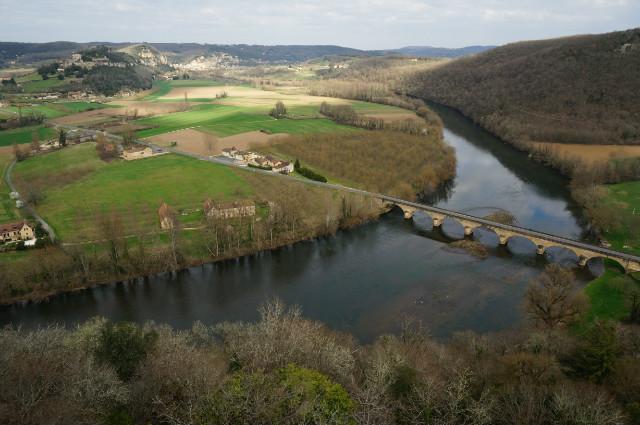
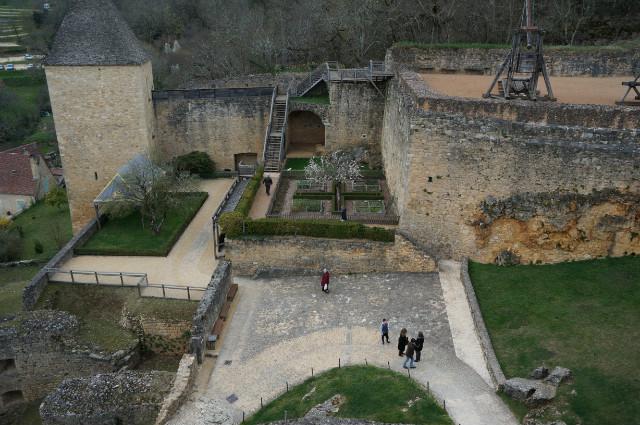
We visited the amazing Château de Castelnaud with it’s museum of medieval warfare, the long climb to the top of the stairs gave us an amazing view:
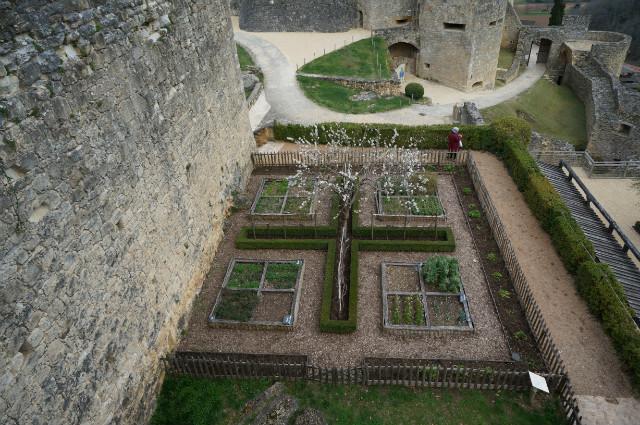
One of my favourite parts of the castle were the lovely herb garden with 4 different areas for aromatics, medicinal, and not sure what the other two were now, that they had found plans for and recreated. In the centre was an almond tree which was just coming into blossom when we were there.
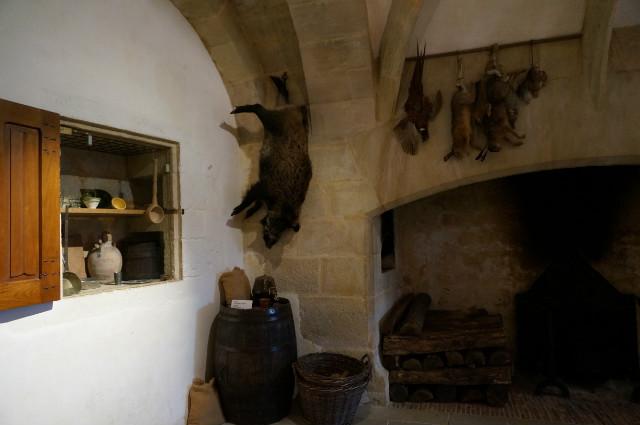
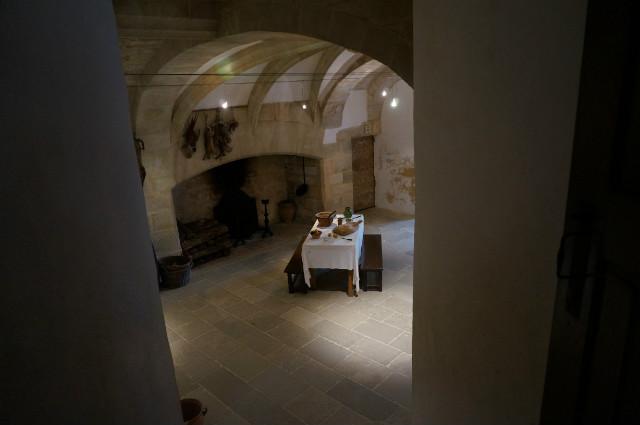
I also loved the kitchen which was set out as it would have been back in the day:
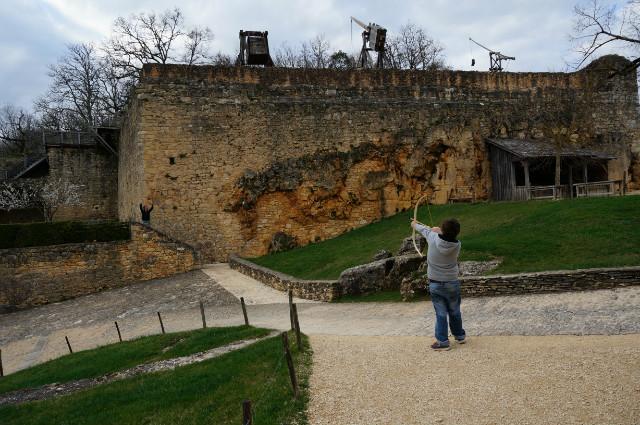
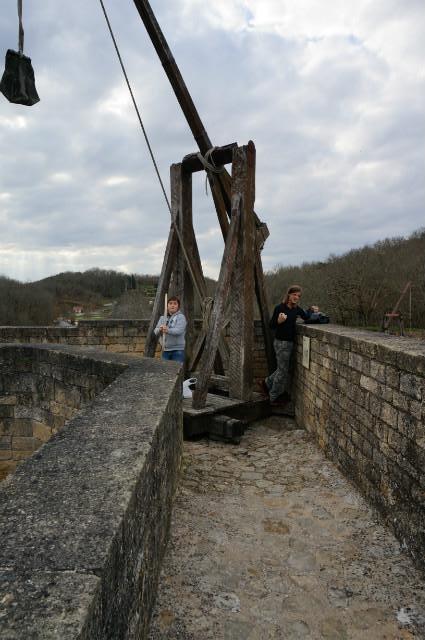
The boys favourite part was all the to scale medieval trebouchets and other war equipment (Louis enjoyed running around with the wooden bow we bought him!):
Of course we couldn’t resist a photo opportunity at the end:
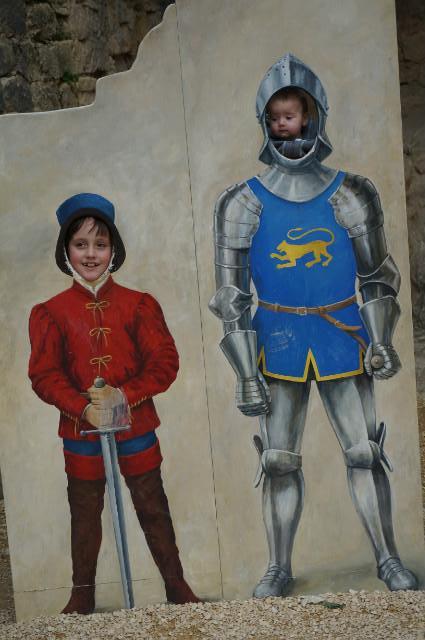
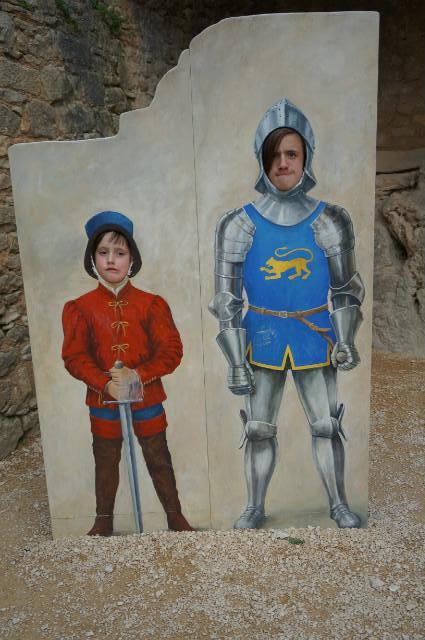
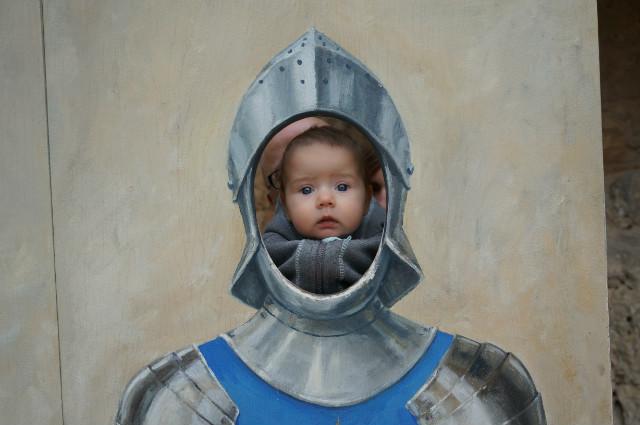
I’m not sure the baby quite knew what was happening bless him!
Other days out included the famous caves at Lascaux with their amazing cro-magnon cave paintings, some of the oldest in the world. During the month we also had some amazing meals and lots of yummy French bread, cheese and patisserie and enjoyed spring arriving while we were there (it was bleak and freezing when we arrived but by mid March we had some lunches outside with the temperature getting up into the 20’s!). It was such a pleasure being back in France but also discovering a whole new area with it’s own amazing culinary and historic wonders! A successful trip all around which found us our new home!
First ever quilt – part I.

I have been wanting to do a quilt for ages and been too scared to a/ choose lots of fabrics that will work together and b/ actually tackle it! I was recently in Wollongong and decided to take the opportunity of a visit to Spotlight to see if I could come up with a quilt for my lovely old friend’s new baby boy (old as in we have been friends for 25 years, not old as in old – we are born the same day so I obviously don’t mean that!). I had it all planned in my head – mega simple lines with fun primary colours, not too babyish bolds. I bought 6 different colours and then corresponding quantity of backing fabric (except I got confused and ended up with way too much fabric for the front – oops!). The fabric is a nice sturdy drill cotton which I hope means it will wash and last really well and is tough enough to go on the grass for little William to lie on and soft enough to be used on his cot or bed.

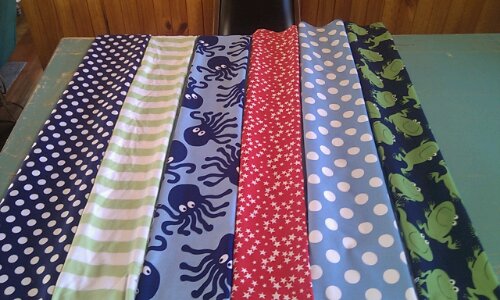
Step one was trying to work out how it would all go together:

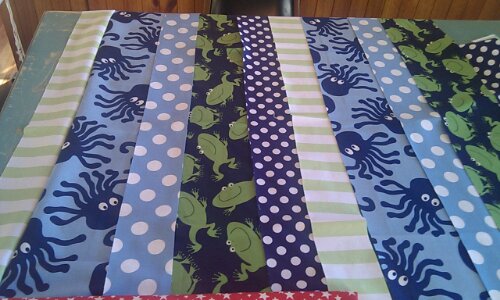
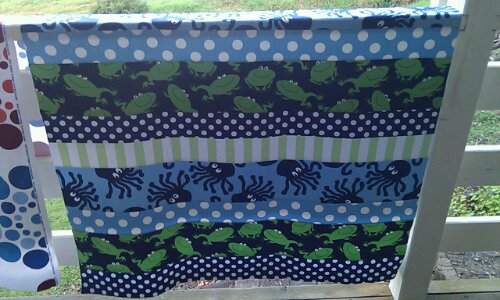
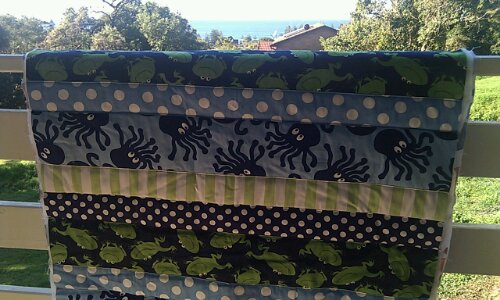
Himself was very anti having the red in the main part of the quilt. So I took it out (as actually he was right but don’t tell him I said that!) and this is what I came up with as my final order:

You can just see the red at the bottom and that is what I’m going to use for the binding! I think it adds a little bit of contrast and ties in the front and the backing colours well.

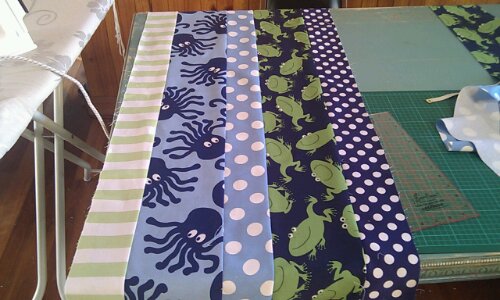
Step 2 was cutting the strips of material, I cut 2 different widths to add a little interest. I used my rotary cutter and mat and wide ruler so it was pretty quick and easy and my lines were good and straight (and this point I was very happy to have gone with my instinct not to have tried anything complicated for my first effort!).

Step 3: off I went sewing – lots and lots of straight lines! And lots and lots of ironing as I went (my poor iron only gets used for sewing and work shirts!), you really must iron though otherwise your lines will just look wonky and horrible.

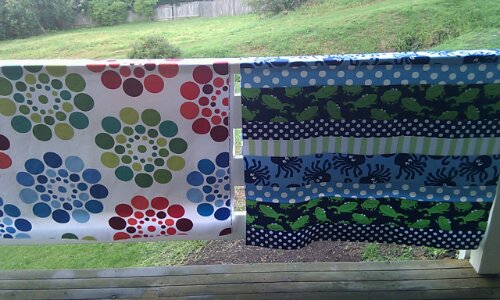
Here is the front all done 🙂And the front with the back next to it:

Step 4: Next I scoured the internet for how to actually do the quilting bit and ended up using the ‘tape the damn thing to the wooden floor and pin pin pin’ method! I was pretty happy with how that worked for me, I’m sure I took some pics but will have to add them later as they seem to have gone walk-about.

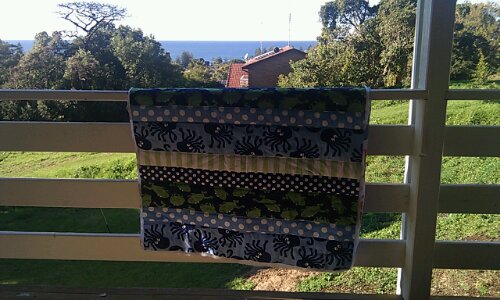
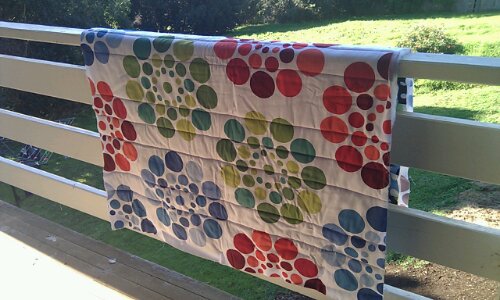
Step 5: Let the quilting begin! I decided to do a simple line either side of each seam (I think this may be called ‘in the ditch’ but I’m not sure as it is not actually in the ditch more like just on the side ;). There was no way I was going to do anything more complicated and I think for this quilt the simplicity works. My dilemma here was what colour thread to use. I originally thought red as that would tie in the back, front and binding but himself again vetoed that and said navy would be better. I promptly ignored the damn thing for days as this was a decision too many for my indecisive brain! A lovely friend on the Tree suggested that I do one colour in the bobbin and one in the top which solved all my problems! So navy on top and red on the bottom and I love how it is turning out:

I’ve only done one side of the seam so far and it is already starting to look a bit puffy and quilt like – success!

It is hard to see but it is blue, will have to get a closer pic! Here is the back, I’m really glad it is red, I think it works in a way that navy wouldn’t have:

Hmmm that is not very easy to see either but you get the idea!

Unfortunately life has got in the way in the last month with lots of work (including 8 days straight at one point!) and a 5 day trip to Orange to visit my little sister in her new life up there. All this has caused havoc for my sewing and alas it remains no further on than these pics from a month ago.

I’m determined to make some sewing time soon and will update as soon as I do.


Sleeping babe!
I don’t want him to be 6 soon! I also wanted to show off the lovely sheep quilt Mil Nicole made for him and how well it goes with the blue, red and white theme we have going xx
 

Edited to add I don’t understand where the picture has gone!! Will update asap!

Worked it out – sorry!

The Apron Chronicles part II

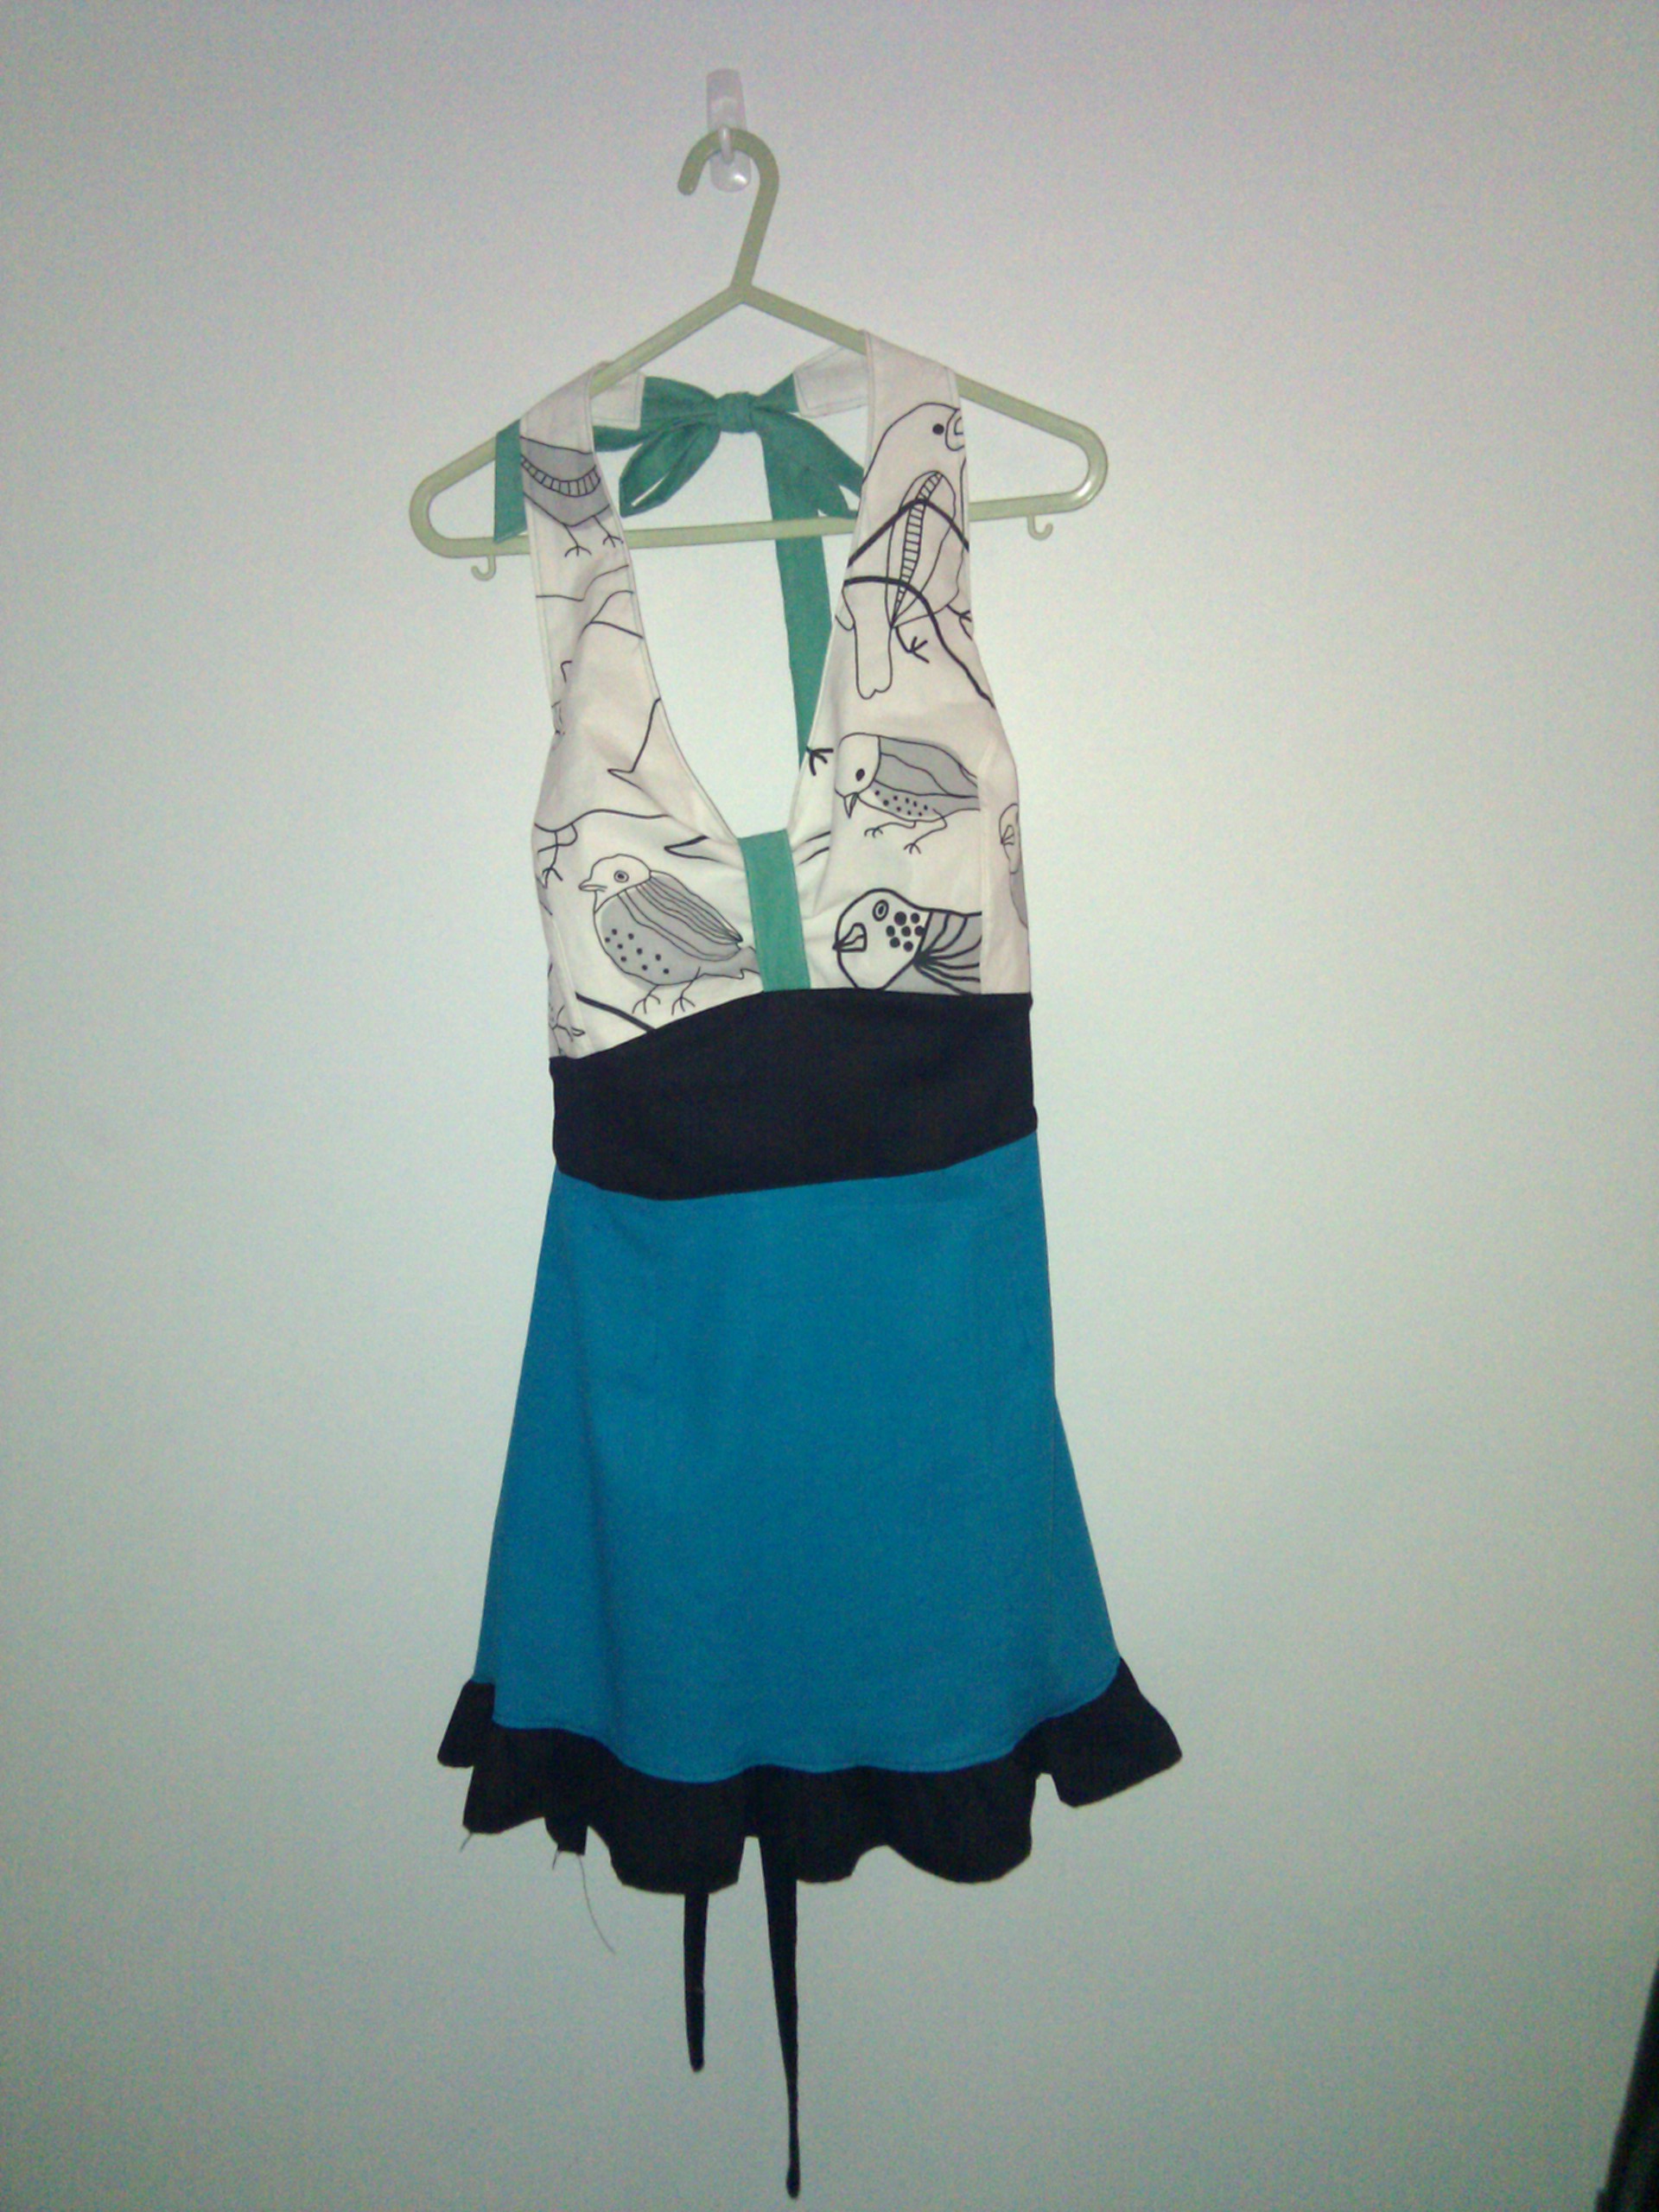
Managed to get this finished this week – it has been a WIP for a while now, I ran out of the black drill and had to go out for it and then got busy so it has been a long time finishing! It’s for my little sister and I’m hoping she’ll like it as she has a black and white kitchen and loves blue!

Eek I’ve just spotted some threads hanging – will have to go and sort them out!

Every photo I take makes me yearn more and more for a mannequin!

My snap press has arrived!

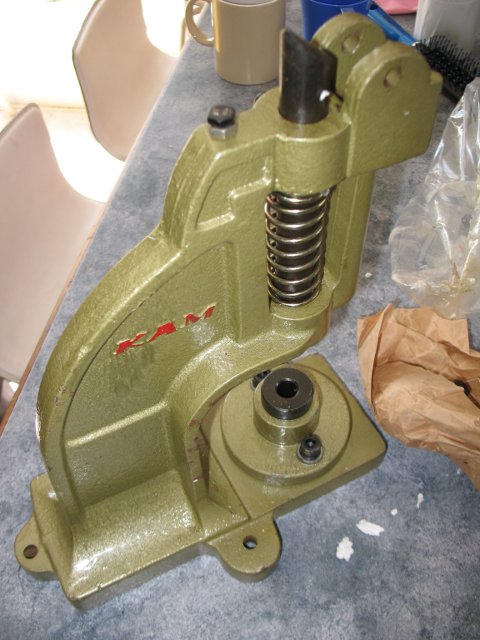
I feel a bit silly to be all excited about a slightly oily obviously made for sterner things snap press but I am!!! I have been wanting one of these for ages and they are so much cheaper to order her in Oz so I decided to go for it and get one! It is a KAM press which are meant to be the best at the job. I spent ages debating on whether to get the DK-93 model or the DK-98 model. The 93 being smaller, lighter, prettier (a nice green and a graceful handle!) with screw in die sets and the DK-98 sturdier, heavier and not so pretty (kind of a baby-poo brown :lol:) with slide in die sets that you tighten with an Allen key. Anyway after much deliberation over head v’s heart I decided to go with the DK-98 model – I can always spray paint that baby to suit my sewing room when I get one!!

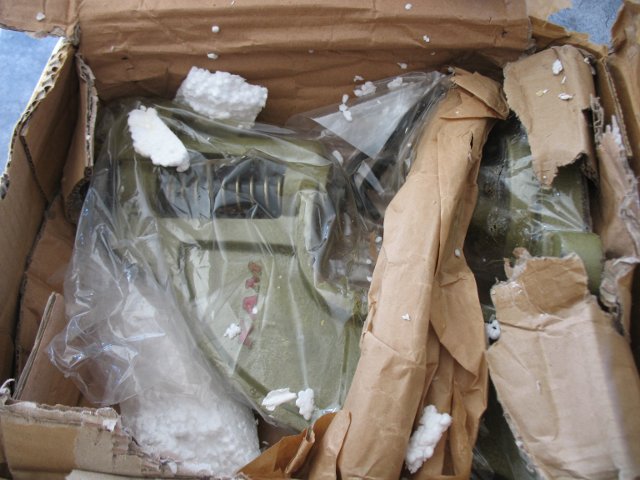
First view in the box!

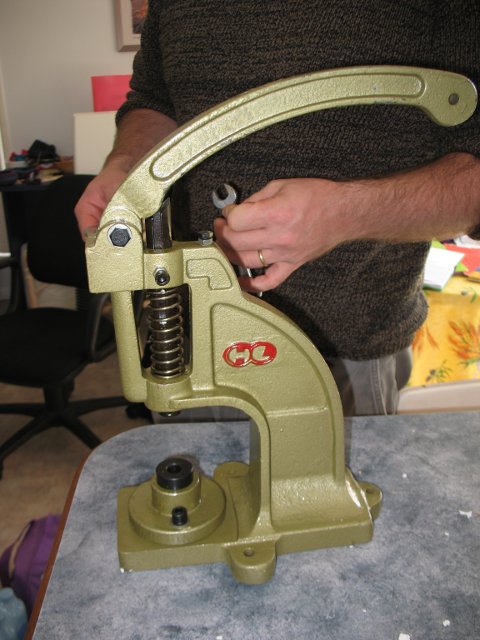
Out of the box waiting a clean (yuck it was very oily and dirty – they warn you that is how it comes so I made sure I gave it a good wipe!) and it’s handle attaching.

The man shape helped me screw it all together (he likes doing that kinda thing so I’m nice and let him 🙂 )

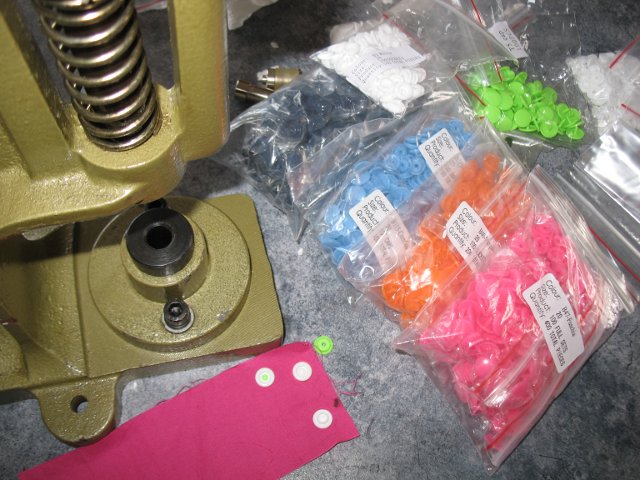
We then had a good play and got some of the little suckers attached to some material! I’d ordered a full set of white, navy, and pink (which is a bit lighter than I’d hoped but never mind!) and some 1/2 sets of light blue, lime green and pumpkin orange!

I can’t wait to use them on a project – just not sure what yet – ideas on a postcard please!

The only project I have on a to do list is Joshua’s quilt cover which I need to get done from some flat sheets. He wants a scene appliquéd on it and of course the easiest for kids with a duvet cover is snaps so that will take up at least 8 of them!!

Stash building!

For those of you that sew you’ll understand the important art of stash building – you know when you have to buy any gorgeous material that you see because your stash obviously needs more building done to it ;)!

I have discovered that the best way to stash build is to explore the delights of all the fantastic American on-line fabric shops. I know that I should support my local shop (and I do when I can) but we are talking some pretty major savings. I’ll give you an example – Amy Butler (or any other of your yummy designers) fabrics retail here in Australia for around $28/metre – those exact same materials are sold in the US for around $8.50/yard. Of course I need to pay my post as well but USPS do a flat pack envelope that you can fit about 8 yards in for $14.95, so it works out less than $2 a yard extra in postage. What can I say – I’m a student, I’m a thrifty girl, I just can’t justify spending nearly 3 times the price for exactly the same material ! I’m glad I shared that with you – my guilt is slightly reduced :).

My most recent order was delivered yesterday (just about a week from ordering – not bad). I was so excited! I ordered from the Fat Quarter Shop who I hadn’t used before. I had a lovely email from Kimberly to keep me up to date with the progress of my order and as usual I had lovely customer service (gotta love the Americans for that ;)).

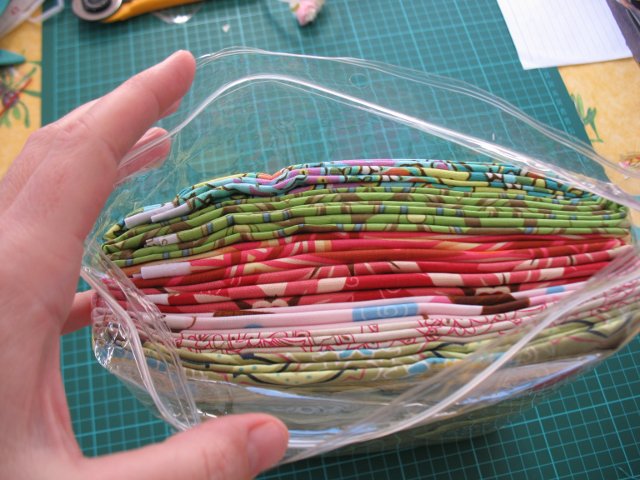
This is what I found when I opened my envelope:

I thought that was fab that it was in a zip lock envelope as the US post envelope is only cardboard so if it got wet your fabric would too!

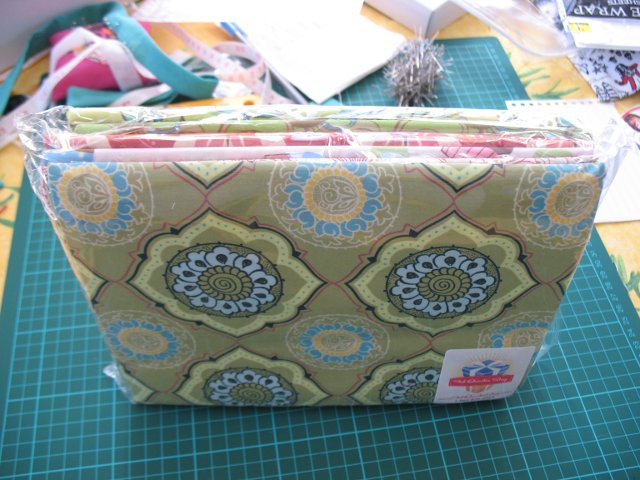
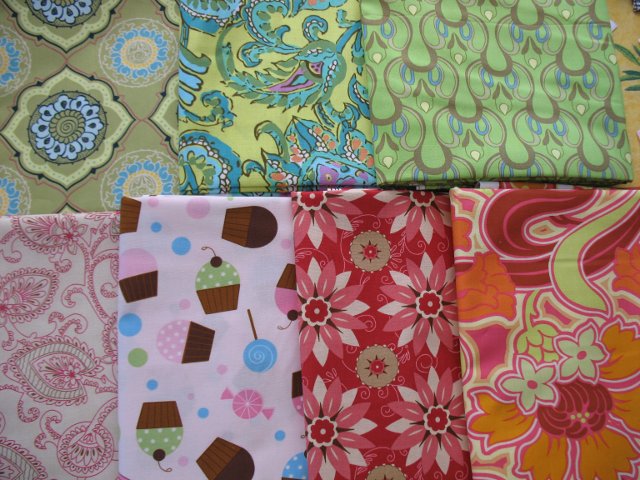
So this is what 8 yards looks like (I got 2 of the fabrics with 1.5 yards to make some PJ pants for me and probably another apron with the other). Mmmmmm yummy colours jumping out:

I thought I’d just add in what the fabrics are – top left to right:

Art Gallery Fabrics: Alhambra II Garden Cashmere Cameo

Amy Butler – Soul Blossoms Lemon Daisy Paisley

Art Gallery Fabrics: Alhambra II Green Granada Arches

Bottom row left to right:

Alice’s Wash Day blues Cream Embellished Floral (Circa 1880 – how cool!)

Ann Kelle for Robert Kaufman: Confections Pink Cupcakes and Sweets

Amanda Murphy for Robert Kaufman: Swiss Chocolate Chocolate Lovely Lotus

Amy Butler – Soul Blossoms Tangerine Disco Flowers

I’m very excited and just need to work out what to make now! I often need to sit on new fabric for a while before I do anything as I can’t bear cutting into it! 😳


The Apron Chronicles part I.

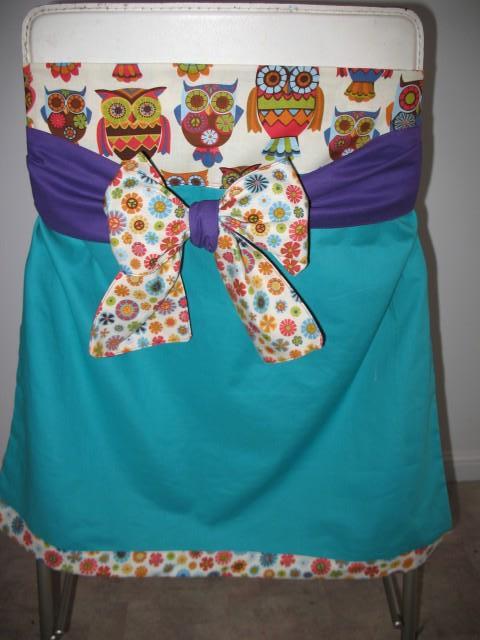
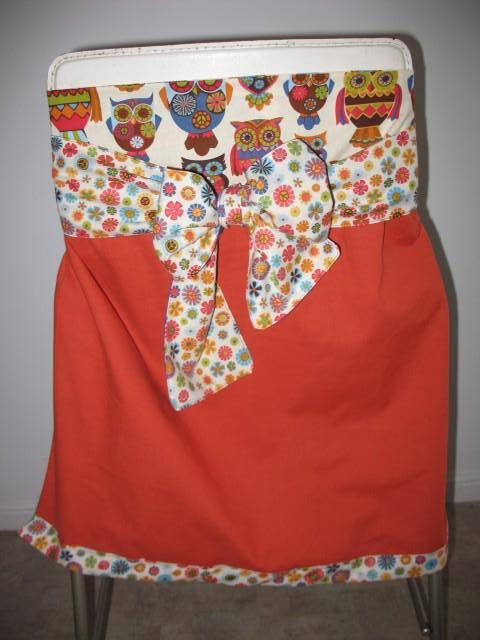
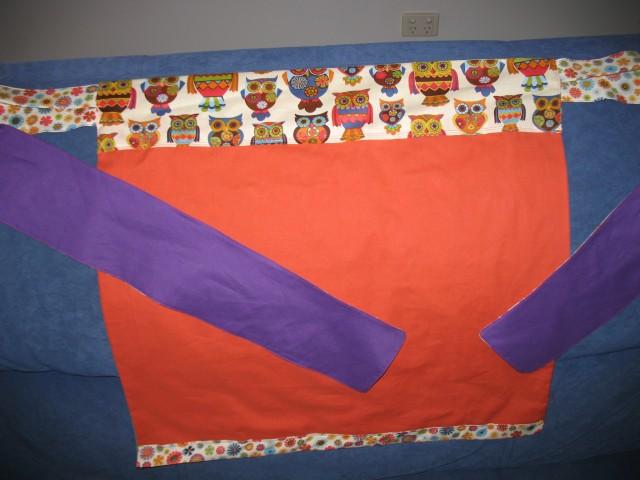
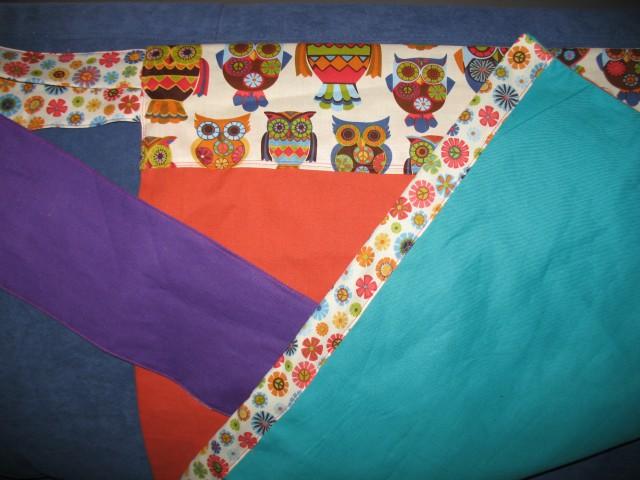
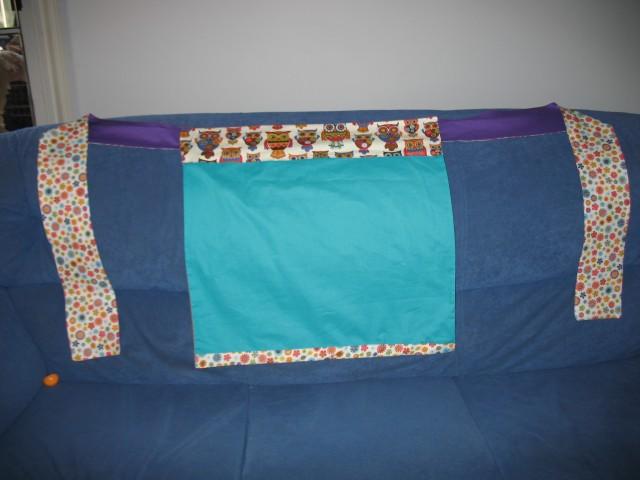
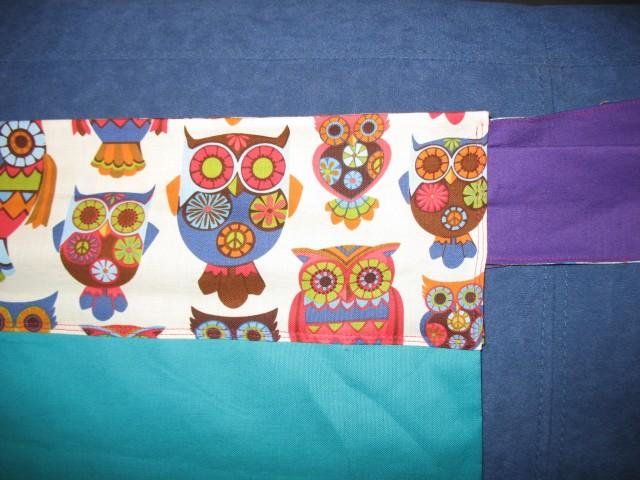
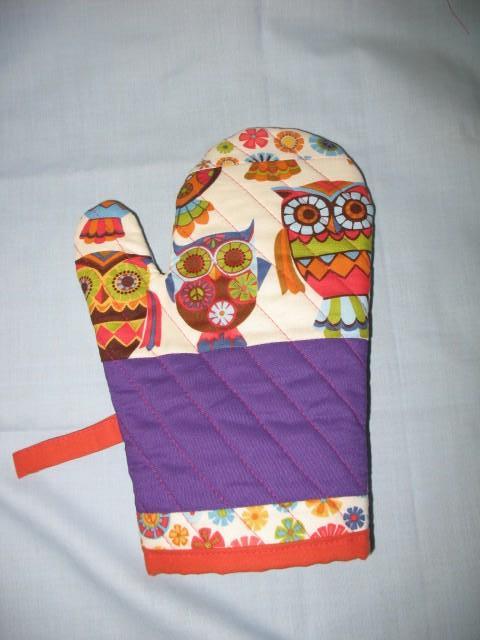
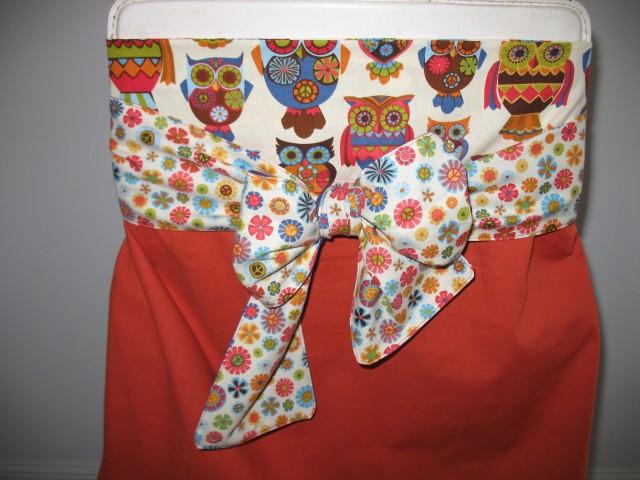
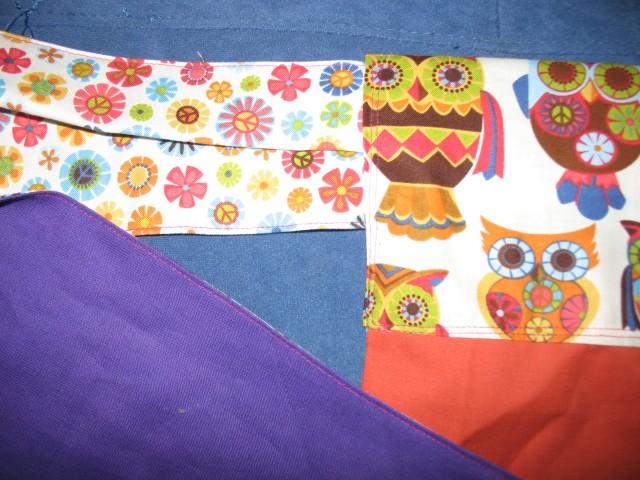
It all started with a craft swap I did back in May. I decided to make an apron for my recipient (with a matching oven glove bien sur ;)!). She had specified a love of owls – and lo and behold I’d only 2 months earlier ordered some owl material when I did my fabric order from the States – it was obviously meant to be (as I’d never before had a fancy to buy anything at all with owls on it!). I had this picture in my head of a retro apron with frills and a v neck but I couldn’t find a pattern anywhere in any of the free online tutorials – which to this point is all I’d used to make things. As I searched I found a gorgeous café style apron – very simple but with a lovely big tie and I decided that was the one to show off the owls and the bright materials – I was so happy she said she loved brights as it gave me a chance to let loose :)! I love love love it and wanted to keep it!

It was fully reversible which I thought was very cool!


My first attempt at an oven glove to match – I used ‘Insul-bright’ a insulated material suitable for all sorts of projects requiring hot or cold insulating!


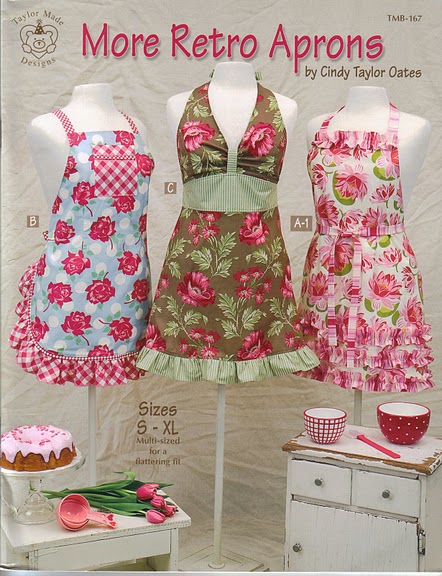
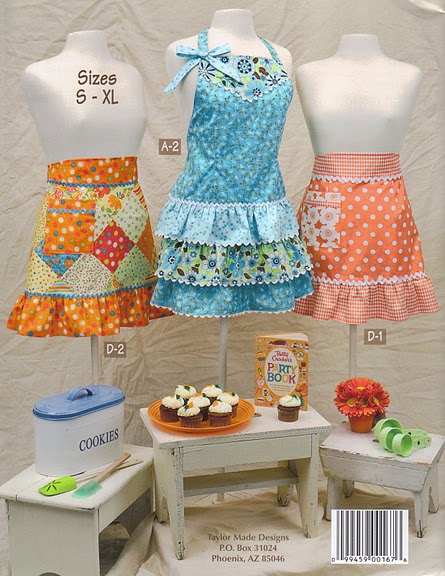
I was so inspired by this apron that I continued my search for ‘the’ apron pattern of my dreams and I came across this fantastic book which I immediately purchased:

With aprons still on my mind we went to the Hervey Bay Historical Village and in the old kitchen I spotted this poem on the wall which I thought was fab:

The principal use of Grandma’s apron was to protect the dress underneath, but
along with that, it served as a potholder for removing hot pans from the oven.

It was wonderful for drying children’s tears, and on occasion was even used for cleaning out dirty ears.

From the chicken coop, the apron was used for carrying eggs, fussy chicks, and
sometimes half-hatched eggs to be finished in the warming oven.

When company came, those aprons were ideal hiding places for shy kids.

And when the weather was cold, grandma wrapped it around her arms.

Those big old aprons wiped many a perspiring brow, bent over the hot wood stove.
Chips and kindling wood were brought into the kitchen in that apron.

From the garden, it carried all sorts of vegetables. After the peas had been shelled, it carried out the hulls.

In the fall, the apron was used to bring in apples that had fallen from the trees.

When unexpected company drove up the road, it was surprising how much furniture that old apron could dust in a matter of seconds.

When dinner was ready, Grandma walked out onto the porch, waved her apron, and the men knew it was time to come in from the fields to dinner.

It will be a long time before someone invents something that will replace that ‘old-time apron’ that served so many purposes.

REMEMBER:
Grandma used to set her hot baked apple pies on the window sill to cool
Her granddaughters set theirs on the window sill to thaw.

Author Unknown


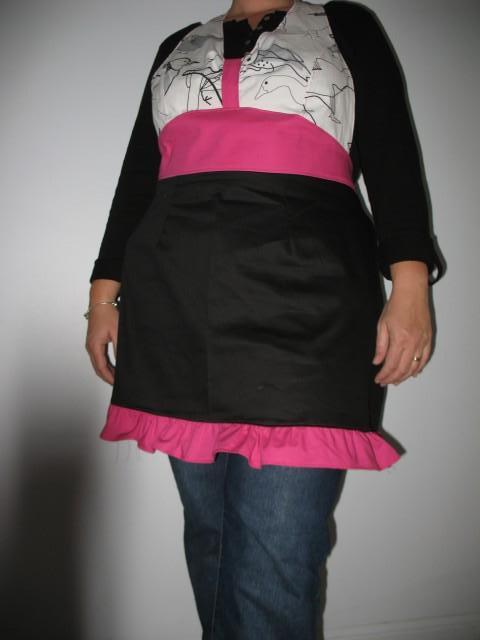
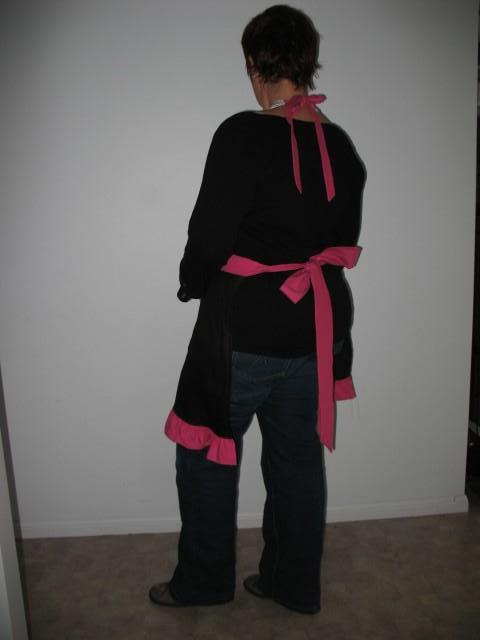
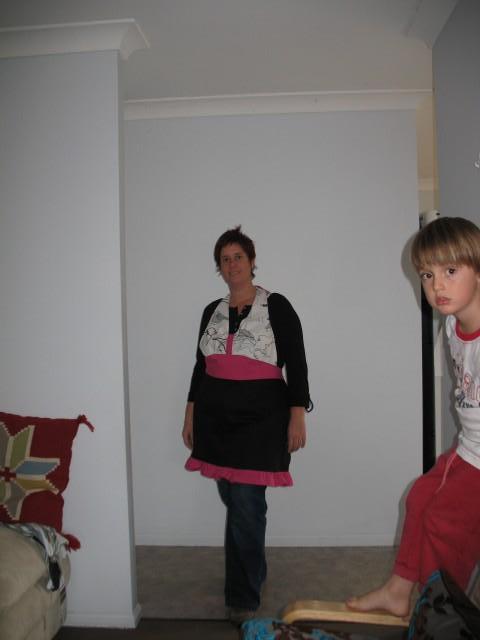
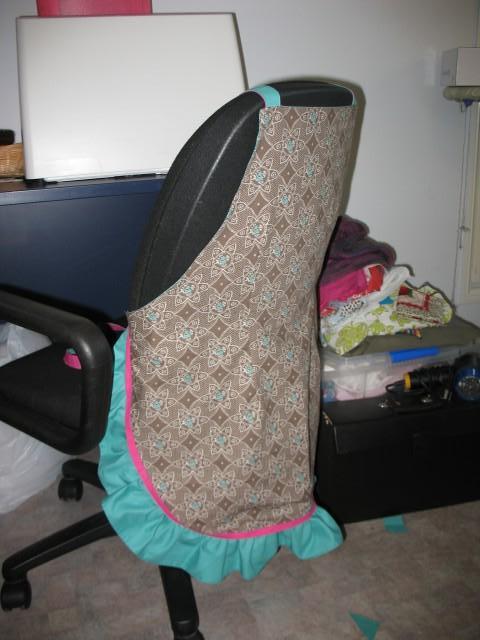
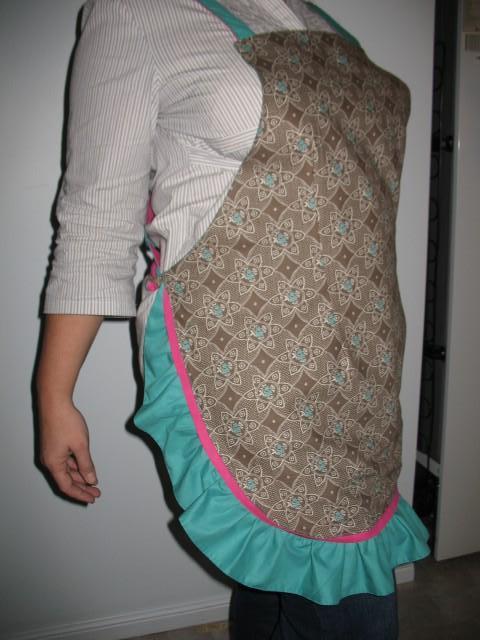
My first apron was of course the v neckline with ruffles! I was inspired by some bird material I had (IKEA) and an online friend who had been going through a rough patch. This is how it turned out (sorry about the pics of me 😳 taken by a 10 year old – I obviously need to get a mannequin at some point!):


I’m pleased to say she received it just this week and it made her day which was exactly the point of it! She also said it matched her personality exactly :widesmile:

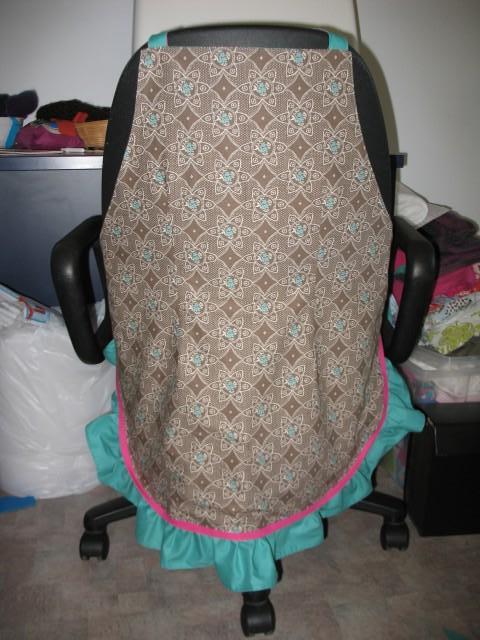
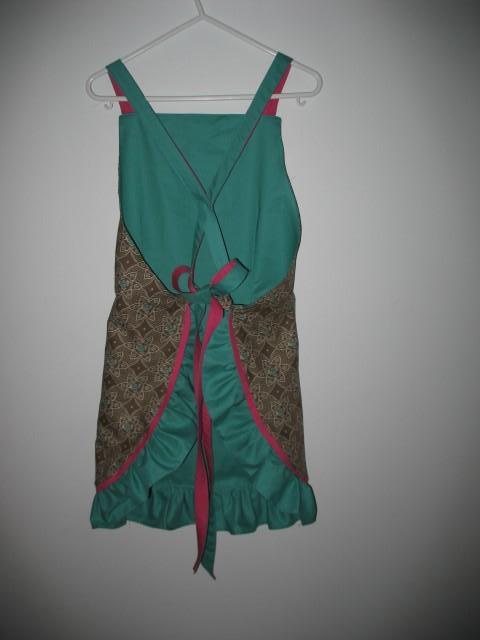
I thought I’d try another of the patterns next and found some sweet material that I worked with. This one is going to a friend for her birthday:

The back has a great cross over tie system – very comfy to wear!


I was trying to get the gorgeous curve of the apron but it was really hard – this one shows it the best but you get my curves as well!! 😆

I have another like the black white and pink one in progress – I’ll let you see it when it is done!

I have a book…..

……. that is quite old and full of jottings of years gone by – nothing majorly important – but little snippets of our lives, a list of rentals when we moved up here, some measurements from our house in France. Nothing important but I can’t bring myself to bin it (even though I have actually bought a new one to replace it!). Besides it still has quite a lot of pages left!

This old book is quite tatty, with bent and slightly rusty (isn’t everything in Queensland!) spirals and a very bedraggled cover. So after a few recent posts on Cloth Nappy Tree about people making covers I decided to try it for myself and decided my poor old tatty book would love a new set of clothes!

I used these tutorials for my basic instructions:

http://www.clothnappytree.com/forum/viewtopic.php?f=29&t=85656

http://craftblog.com.au/2008/07/21/notebook-cover-tutorial/

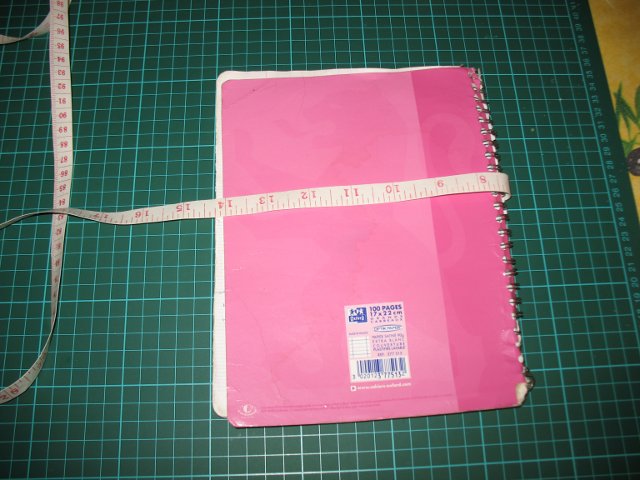
First I measured it up – look at the poor old thing!

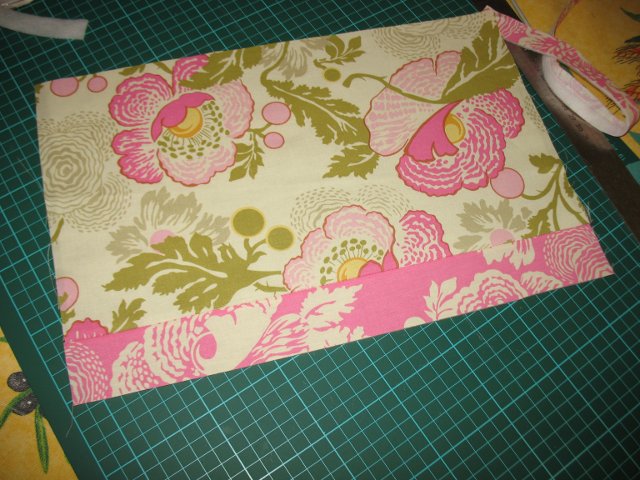
And then I chose my material – I used 2 fabrics from Amy Butler’s Midwest Modern collection that I ordered a while back from the States and haven’t cut into yet! It is pretty basic – a large piece, 2 smaller ones for the inside and 2 pockets.

The instructions said to use batting – I chose to do it with iron on stuff. Unfortunately I managed to catch one edge of my main bit of fabric on the rough side of it and ripped a whole heap of threads off one side meaning my material was too small – oops!! If you give this a try don’t be a doofus like me as you’ll have to sew an extra bit on!

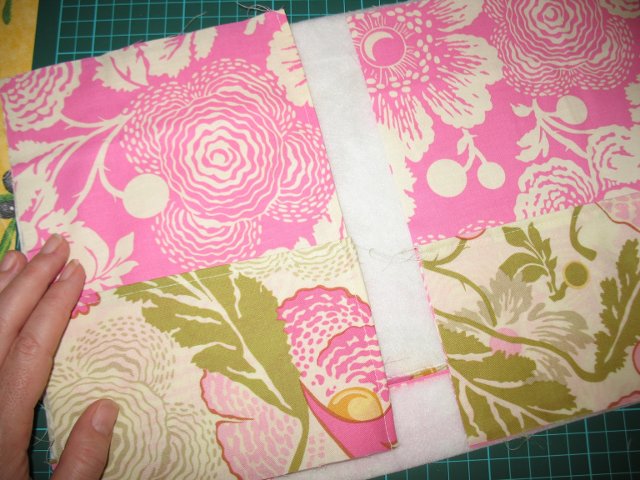
The next step is to hem the pockets and then sew the inner flaps – you need to make sure that you sew the opposite sides so that the sewn edge is in the centre on each side:

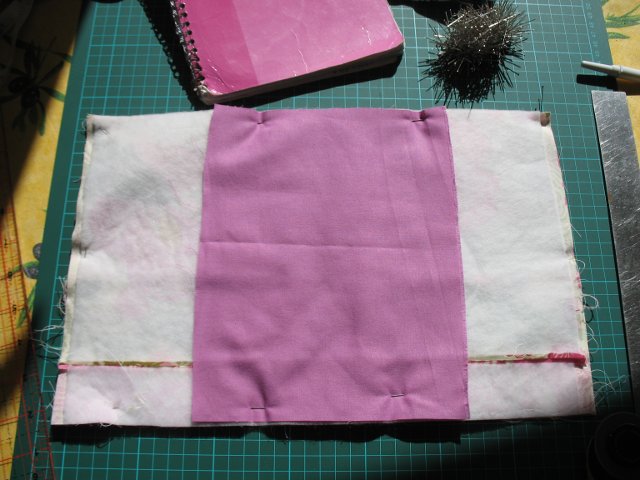
I really didn’t like the look of the batting showing – I knew that it would really be seen but I’d know it was there and I decided I couldn’t deal with that 😳 – at this point is was very late so I gave up and went to bed!

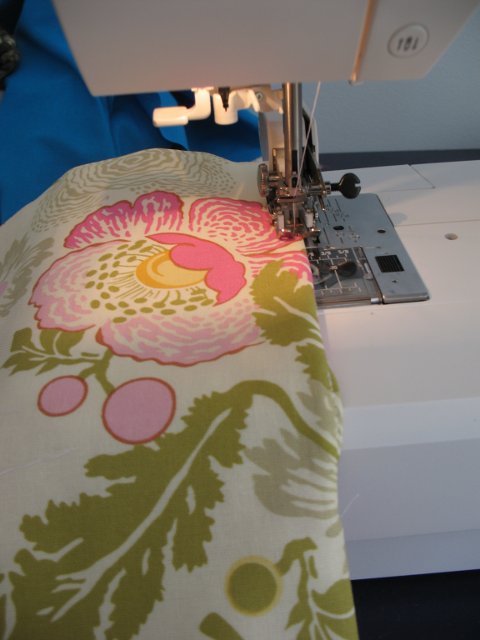
Next morning I decided that all it needed was a strip a bit wider than the gap before I sandwiched and sewed it all together (look at that poor old tatty book getting excited!):Next step was sewing it all together (that’s my lovely Husqvuarna Emerald 122 that I got for my birthday last year 🙂 ). You can see about 1/2 way down that there is a row of stitching where I’ve sewn up the cover where the gap is – this didn’t go so well – I wanted to do a kind of rolled hem but it was all too small, too fat and just fell apart leaving me with a raw edge (I can’t deal with raw edges ) so I ended up kind of tucking it all in and just about doing it but I’m not 100% happy with the results of that little edge.

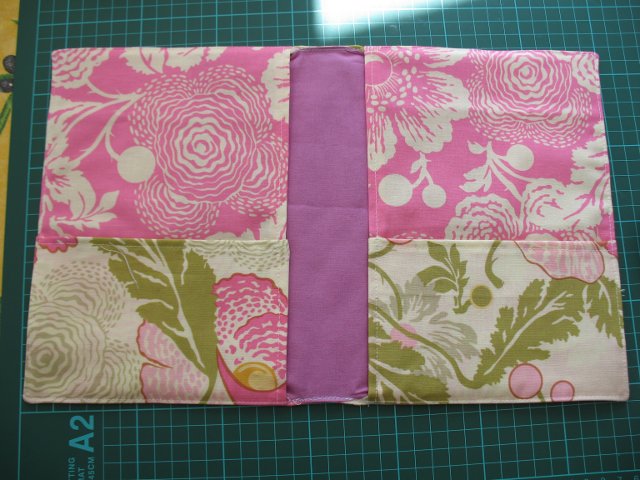
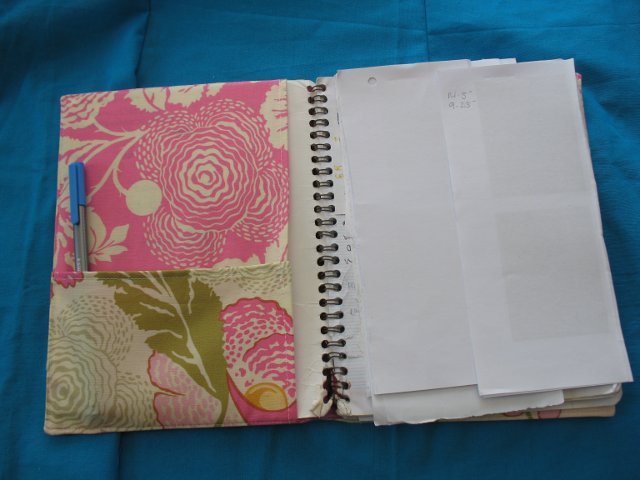
Here is the finished results 🙂 pretty happy with it and I’m sure my tatty old book is too!

The interior with the book inside. I think the pockets need more stiffness and as I said above not very happy with the way the edges worked out with this method but all in all much better than it was! If anyone has used another pattern / tutorial to make a notebook cover please link me to it as I think I need to make some changes for the next attempt!

I’m so glad I made this and shared it with you instead of doing my assignment 😯 🙂