……. that is quite old and full of jottings of years gone by – nothing majorly important – but little snippets of our lives, a list of rentals when we moved up here, some measurements from our house in France. Nothing important but I can’t bring myself to bin it (even though I have actually bought a new one to replace it!). Besides it still has quite a lot of pages left!
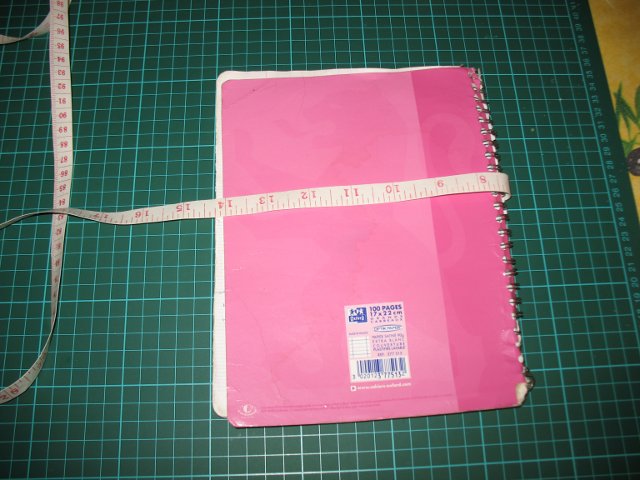
This old book is quite tatty, with bent and slightly rusty (isn’t everything in Queensland!) spirals and a very bedraggled cover. So after a few recent posts on Cloth Nappy Tree about people making covers I decided to try it for myself and decided my poor old tatty book would love a new set of clothes!
I used these tutorials for my basic instructions:
http://www.clothnappytree.com/forum/viewtopic.php?f=29&t=85656
http://craftblog.com.au/2008/07/21/notebook-cover-tutorial/
First I measured it up – look at the poor old thing!
 And then I chose my material – I used 2 fabrics from Amy Butler’s Midwest Modern collection that I ordered a while back from the States and haven’t cut into yet! It is pretty basic – a large piece, 2 smaller ones for the inside and 2 pockets.
 The instructions said to use batting – I chose to do it with iron on stuff. Unfortunately I managed to catch one edge of my main bit of fabric on the rough side of it and ripped a whole heap of threads off one side meaning my material was too small – oops!! If you give this a try don’t be a doofus like me as you’ll have to sew an extra bit on!
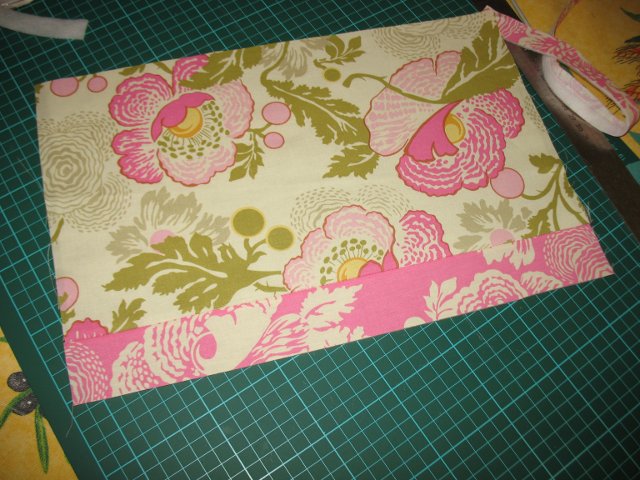
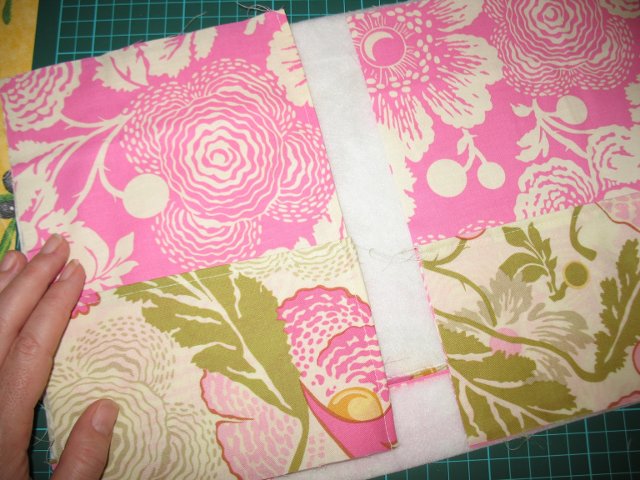
The next step is to hem the pockets and then sew the inner flaps – you need to make sure that you sew the opposite sides so that the sewn edge is in the centre on each side:
I really didn’t like the look of the batting showing – I knew that it would really be seen but I’d know it was there and I decided I couldn’t deal with that 😳 – at this point is was very late so I gave up and went to bed!
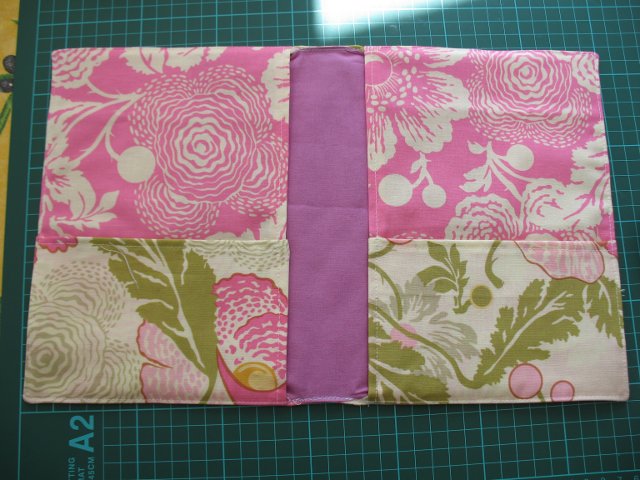
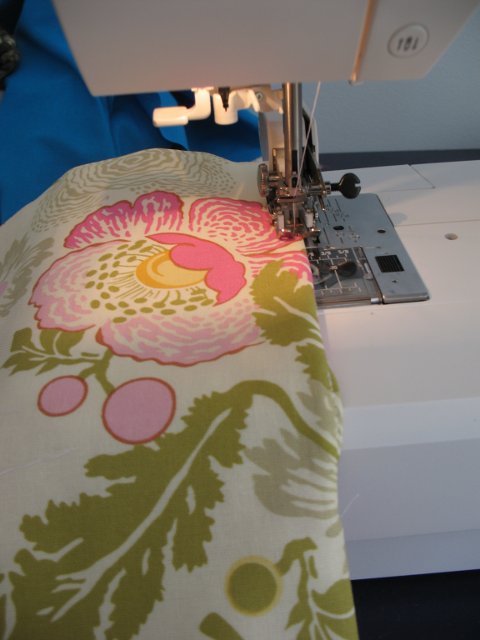
Next morning I decided that all it needed was a strip a bit wider than the gap before I sandwiched and sewed it all together (look at that poor old tatty book getting excited!):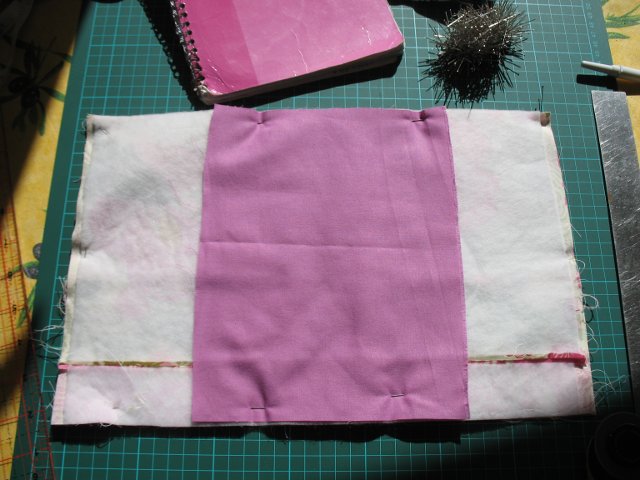 Next step was sewing it all together (that’s my lovely Husqvuarna Emerald 122 that I got for my birthday last year 🙂 ). You can see about 1/2 way down that there is a row of stitching where I’ve sewn up the cover where the gap is – this didn’t go so well – I wanted to do a kind of rolled hem but it was all too small, too fat and just fell apart leaving me with a raw edge (I can’t deal with raw edges
![]() ) so I ended up kind of tucking it all in and just about doing it but I’m not 100% happy with the results of that little edge.
) so I ended up kind of tucking it all in and just about doing it but I’m not 100% happy with the results of that little edge.
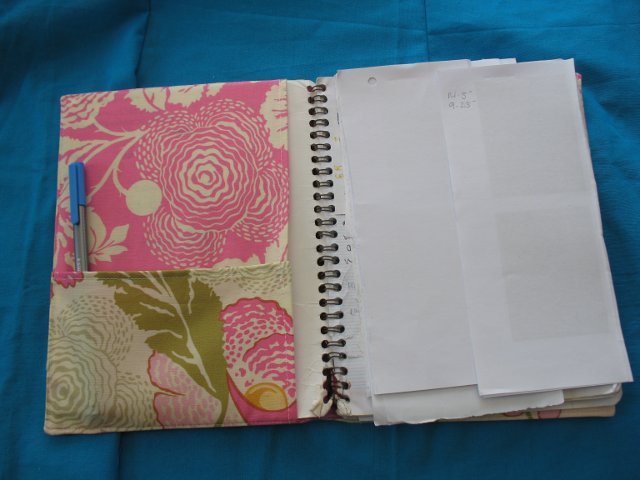
 Here is the finished results 🙂 pretty happy with it and I’m sure my tatty old book is too!
The interior with the book inside. I think the pockets need more stiffness and as I said above not very happy with the way the edges worked out with this method but all in all much better than it was! If anyone has used another pattern / tutorial to make a notebook cover please link me to it as I think I need to make some changes for the next attempt!
I’m so glad I made this and shared it with you instead of doing my assignment 😯 🙂

