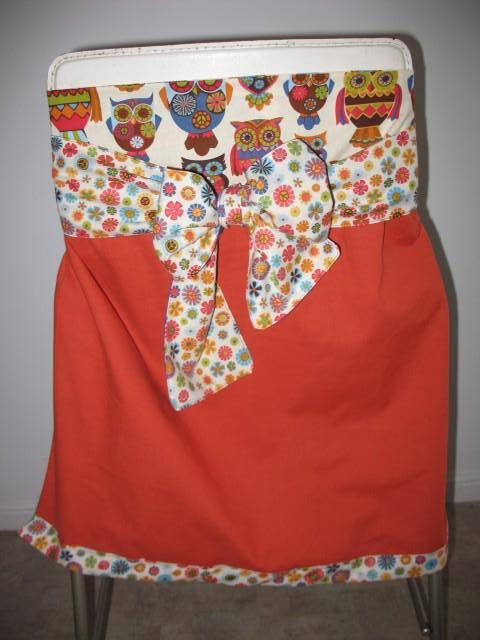
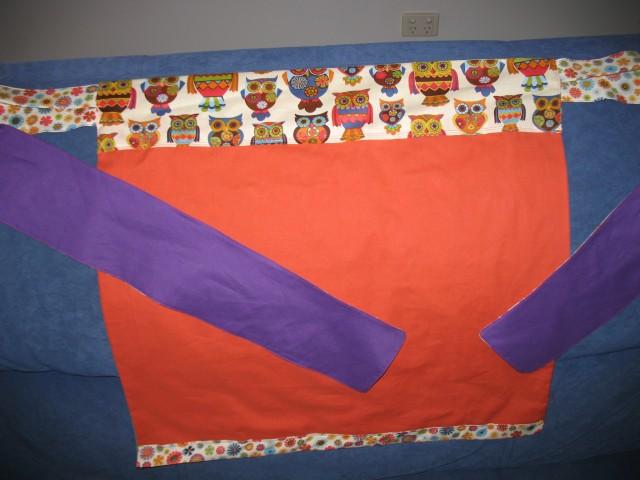
It all started with a craft swap I did back in May. I decided to make an apron for my recipient (with a matching oven glove bien sur ;)!). She had specified a love of owls – and lo and behold I’d only 2 months earlier ordered some owl material when I did my fabric order from the States – it was obviously meant to be (as I’d never before had a fancy to buy anything at all with owls on it!). I had this picture in my head of a retro apron with frills and a v neck but I couldn’t find a pattern anywhere in any of the free online tutorials – which to this point is all I’d used to make things. As I searched I found a gorgeous café style apron – very simple but with a lovely big tie and I decided that was the one to show off the owls and the bright materials – I was so happy she said she loved brights as it gave me a chance to let loose :)! I love love love it and wanted to keep it!
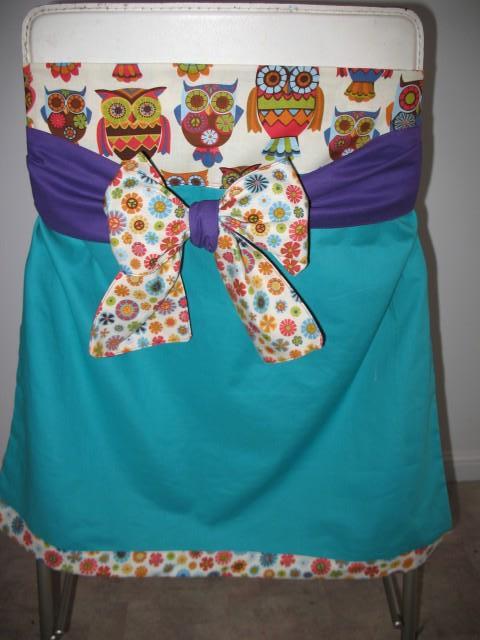
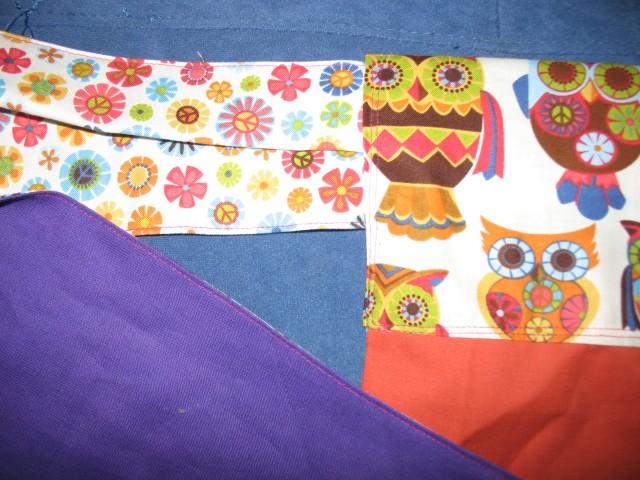
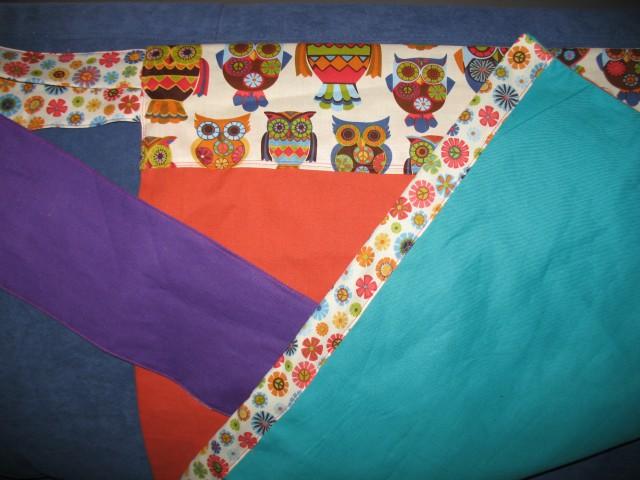
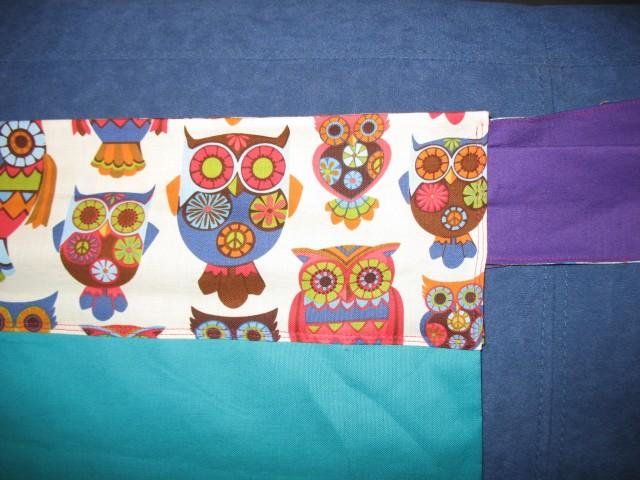
It was fully reversible which I thought was very cool!

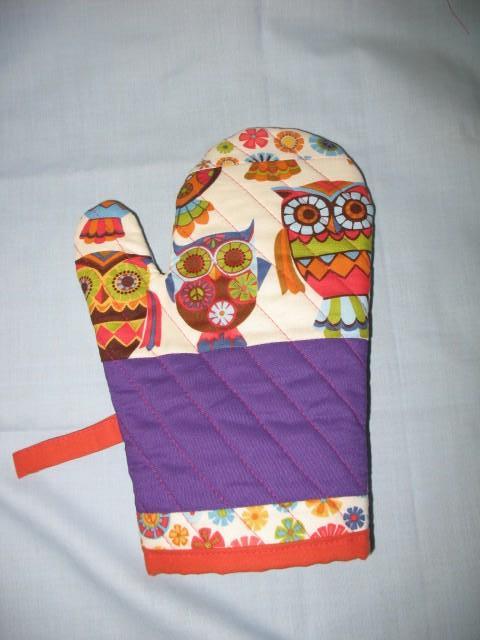
My first attempt at an oven glove to match – I used ‘Insul-bright’ a insulated material suitable for all sorts of projects requiring hot or cold insulating!

I was so inspired by this apron that I continued my search for ‘the’ apron pattern of my dreams and I came across this fantastic book which I immediately purchased:

 With aprons still on my mind we went to the Hervey Bay Historical Village and in the old kitchen I spotted this poem on the wall which I thought was fab:
The principal use of Grandma’s apron was to protect the dress underneath, but
along with that, it served as a potholder for removing hot pans from the oven.
It was wonderful for drying children’s tears, and on occasion was even used for cleaning out dirty ears.
From the chicken coop, the apron was used for carrying eggs, fussy chicks, and
sometimes half-hatched eggs to be finished in the warming oven.
When company came, those aprons were ideal hiding places for shy kids.
And when the weather was cold, grandma wrapped it around her arms.
Those big old aprons wiped many a perspiring brow, bent over the hot wood stove.
Chips and kindling wood were brought into the kitchen in that apron.
From the garden, it carried all sorts of vegetables. After the peas had been shelled, it carried out the hulls.
In the fall, the apron was used to bring in apples that had fallen from the trees.
When unexpected company drove up the road, it was surprising how much furniture that old apron could dust in a matter of seconds.
When dinner was ready, Grandma walked out onto the porch, waved her apron, and the men knew it was time to come in from the fields to dinner.
It will be a long time before someone invents something that will replace that ‘old-time apron’ that served so many purposes.
REMEMBER:
Grandma used to set her hot baked apple pies on the window sill to cool
Her granddaughters set theirs on the window sill to thaw.
Author Unknown
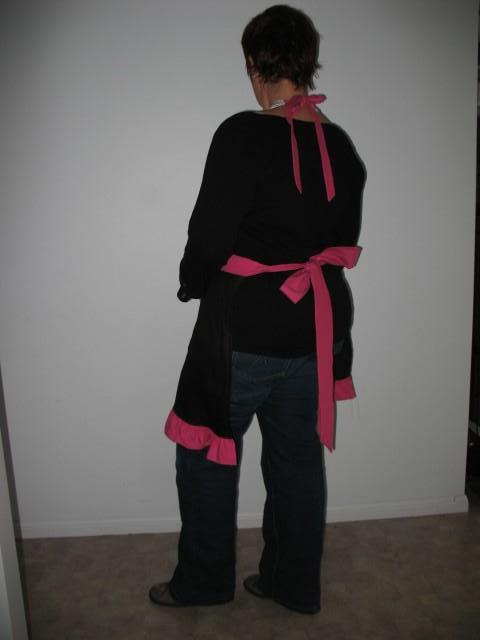
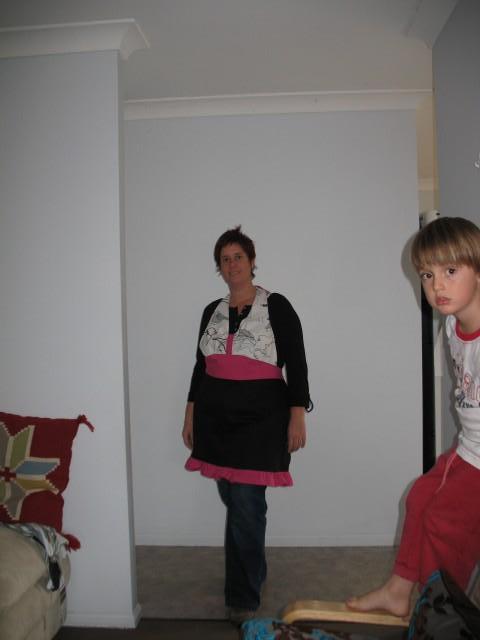
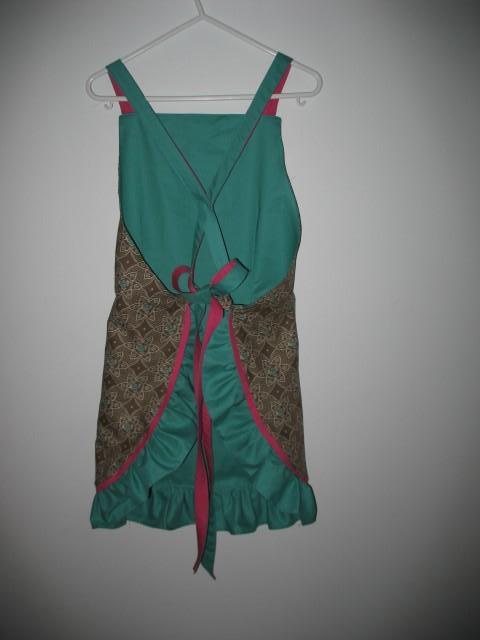
My first apron was of course the v neckline with ruffles! I was inspired by some bird material I had (IKEA) and an online friend who had been going through a rough patch. This is how it turned out (sorry about the pics of me 😳 taken by a 10 year old – I obviously need to get a mannequin at some point!):
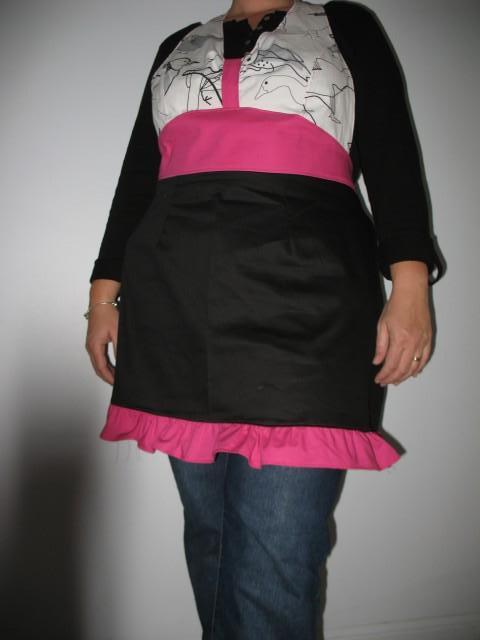
I’m pleased to say she received it just this week and it made her day which was exactly the point of it! She also said it matched her personality exactly :widesmile:
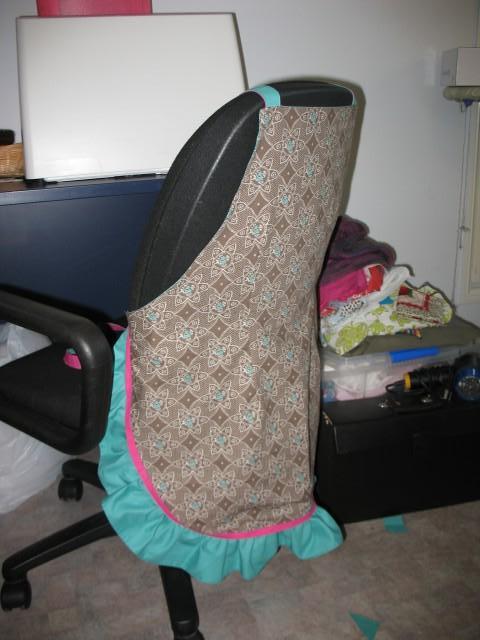
I thought I’d try another of the patterns next and found some sweet material that I worked with. This one is going to a friend for her birthday:
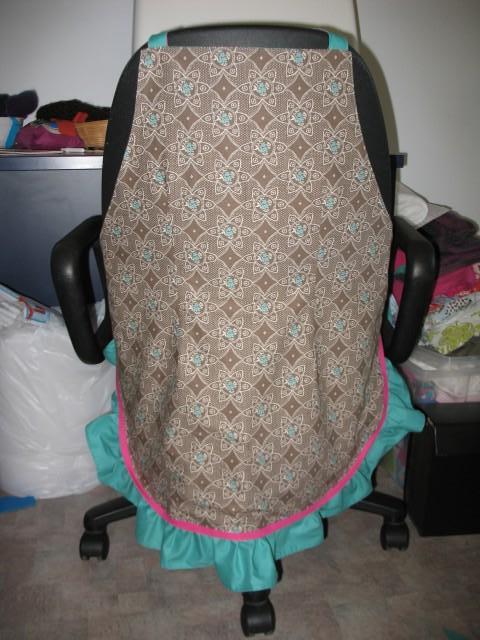
The back has a great cross over tie system – very comfy to wear!
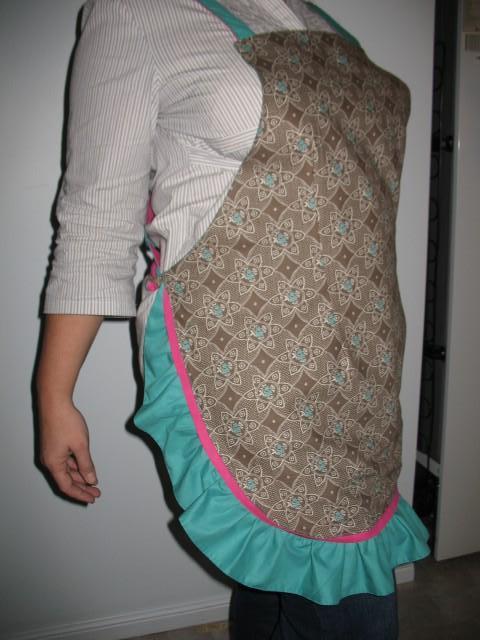
I was trying to get the gorgeous curve of the apron but it was really hard – this one shows it the best but you get my curves as well!! 😆
I have another like the black white and pink one in progress – I’ll let you see it when it is done!
 Eek I’ve just spotted some threads hanging – will have to go and sort them out!


