Garden part IV – spring 2016 veggie patch

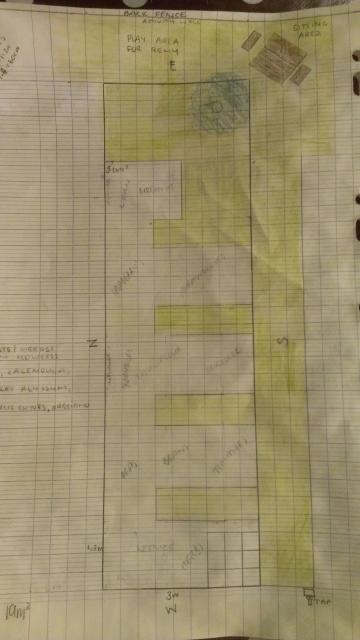
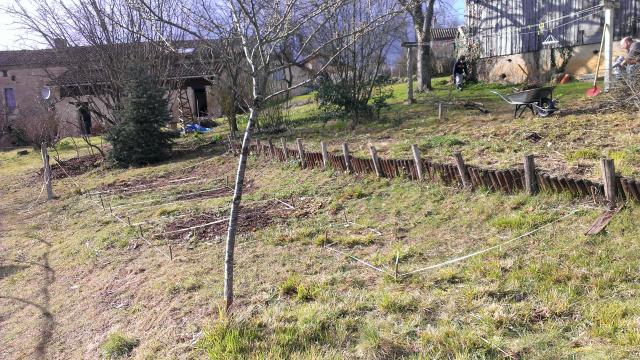
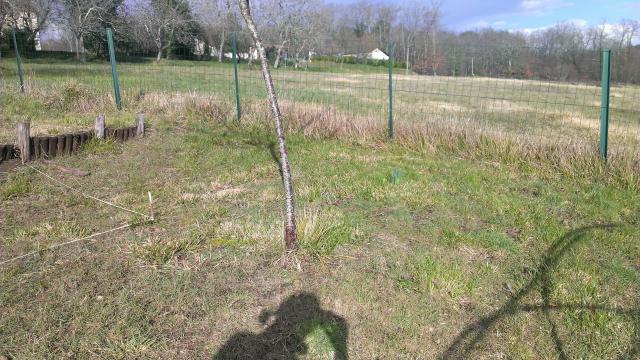
Back in early March I started my plans and work on the veggie garden. The original plan I was working to looked like this:

Image

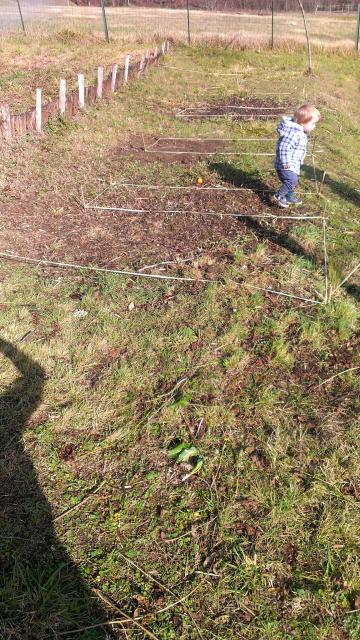
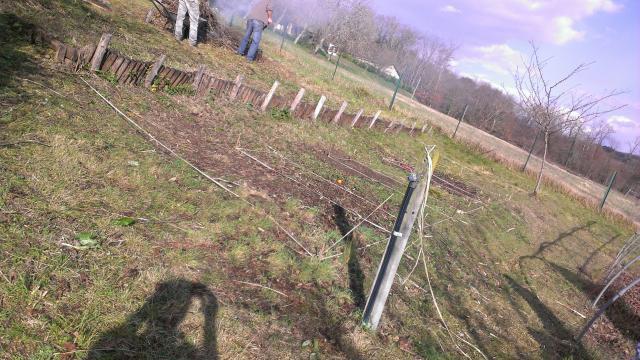
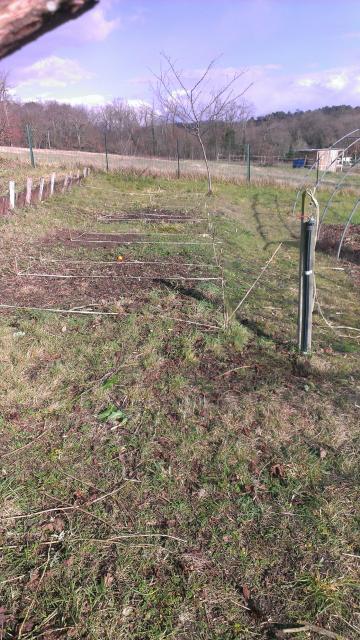
Louis and I spent ages measuring and laying it all out:
Image
Image
Image
Image
Image
Image
Image

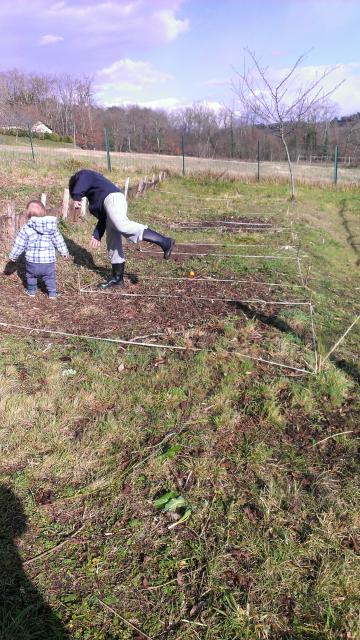
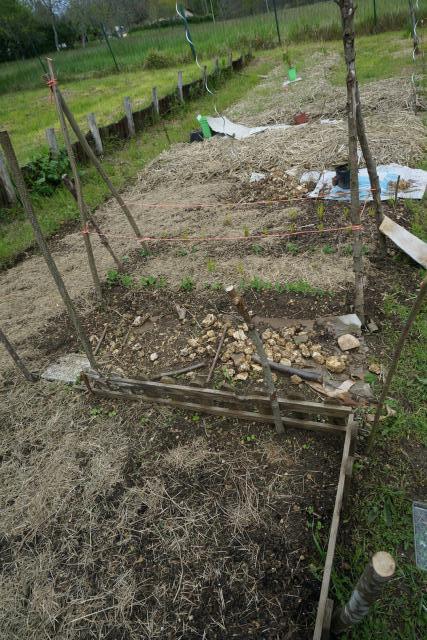
In the end hubby explained that it wouldn’t work to try to get all the little paths with the rotovator so we ended up just rotovating the whole thing and then I formed my paths later. The end result was a bit different from my drawing – it is basically a ‘L’ then a ‘E’. The paths are a bit messy looking but I need to re-cardboard them and I have just bought some wood chips to put on them so that should look much better!

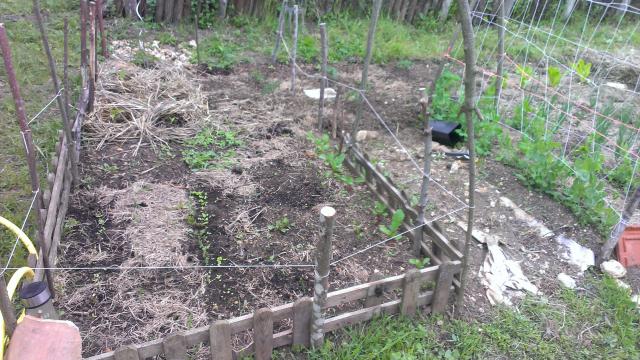
By early May it was looking like this – lots of seeds in and small plants but not an awful lot to see!

Image
Peas and snow peas (mangetoute) running the 2 lines under the teeppee thing (obviously not needed yet for growth but I’m needing to build all sorts of Rémy barriers) and the shallots / eshallots doing really well next to them.
Image

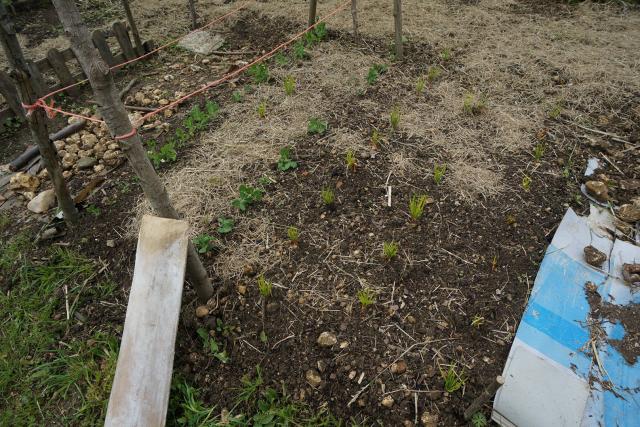
By mid-May more wsa starting to grow and I kept on with my plantings:

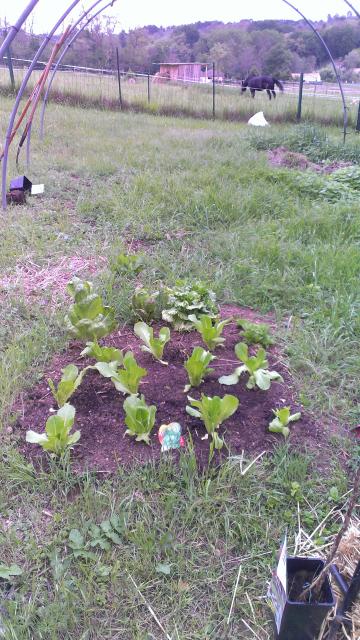
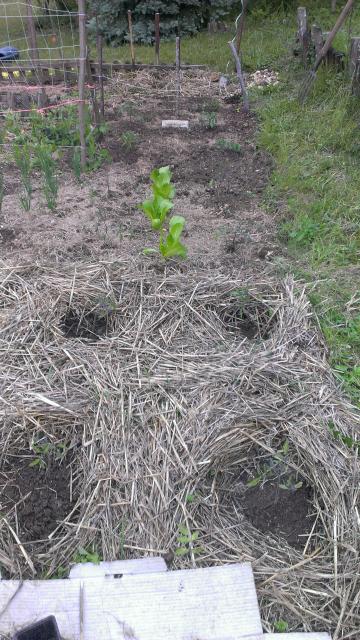
The lettuce patch – the ones at the back are still my winter ones I planted in October then cos at the front:
Image
This first section has radish and carrots to the right then the non growing garlic through the centre then on the left is some more peas (need to put up a support). The top left is a small cherry tomato, some peppers, aubergine and perhaps something else that I can’t remember then heading off along the top row is all the tomatoes with a row of basil right a long the top edge:
Image
The pea house and I’ve done a little bed on the end with some nasturtiums (must get some on the other ends as well):
Image
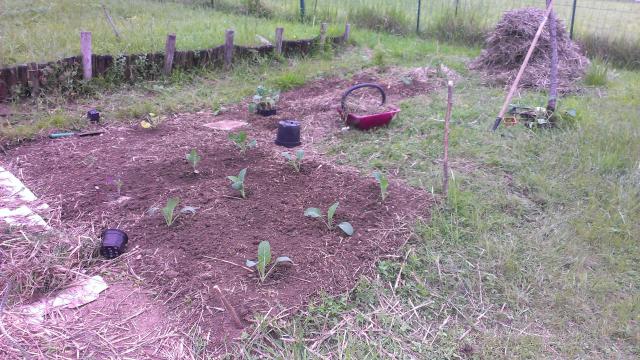
The brassica area, I’ve got 6 cauliflowers at the front then some brussel sprouts,there is now also 6 broccolis in as well then along the top edge are 3 zuchinnis and there should have been a cucumber as well but I killed it (decapitated it as I picked it up  ). Then on the right hand of the L bit there are 6 strawberries and 2 raspberries (I haven’t managed to move them and decided I’ll leave them this year, I think I could cause more damage than good to move them now):
Image
Looking down the long edge of the ‘E’ where I have the tomatoes and a few lettuce in the centre (trying inter planting)
Image

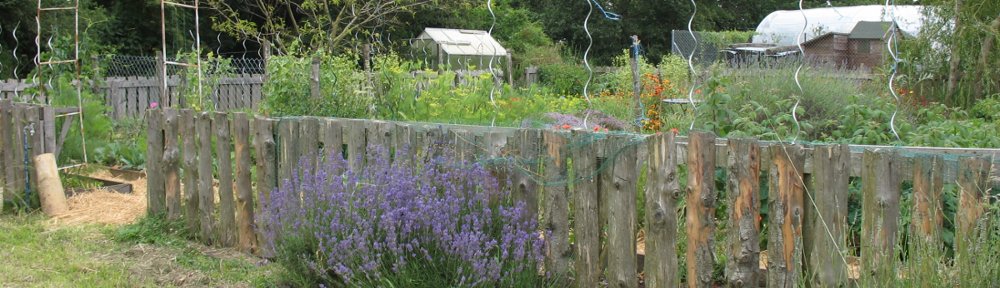
We had a very wet spring so everything has grown really well – I’m so impressed with my first effort! I’m actually amazed looking back at these pics just how far it has come along!

Office / Guestroom renovation – part 2

Sorry I meant to put up the second part of this just after the first but got distracted by a quick trip to the UK to visit the family,  enjoying my mother in laws visit and not enjoying a non sleeping 18 month old!

As I mentioned in the last post we are trying to use traditional / natural building products where we can so the next step was getting the lime render mixed up and on the walls for the first coat (called in French the most fantastic word – gobbité ).

Image

First load mixing – love the natural creme colour that lime gives:

Image

While I was mixing hubby was wetting down the walls:

Image

This was my first effort at rendering – my excitement knew no bounds – it was covering the horrid grey breezeblocks – and it was actually staying on the wall!

Image

The two breezeblock walls with the first layer finished:

Image

Image

The very rough wall is having a terracotta wall built at the bottom and there is a lot of building up to do so we gave it a good start but needs a lot more work to get it so some sort of straightness:
Image

Me exhausted and covered in lime splatters at the end of the rendering day!
Image

The next couple of days we worked on it was all about the wonky wall. The original plan was to build a terracotta wall on the bottom half with a little shelf on it to straighten it but there was a change of plan with the teracotta wall as he was able to get it in much closer than we hoped by only doing 4 blocks high which meant he could then build up the wonky wall to meet the new straight wall in a much gentler more organic looking way. We don’t want straight walls – we want it to have character! I’m quite pleased as while I do like the odd shelf they do collect clutter! It took ages and Josh and I ran around finding stones of the right size and shape in the garden in the various rock piles!
This is the wall after the wall was built but before we started:
Image
And the gradual working along.
Image

As you can see it is giving us a very natural look by using stones and lime original building material but still a reasonably straight wall that can have pictures / shelves hung on it when we are done!
Image

Image
The completed building up of the wonky wall (and you can see the top left stone by the door where he has started cleaning off the old mortar from the nice cut stones!). Now the room is ready for the first all over coat of lime (it still needs to dry more anyway) then we’ll finish off all the room in a single coat once the door and window are in so it is all smooth and meets up. It means we’ve had to live with it at this stage the last month or so while MIL has been in there but it is now super hard ready to take the next layer.

The next job once that was done was to cut out the frame where the door is being fitted – it looked like it was straight and we hoped not much would have to be done but whoever built it forgot to use a spirit level and hubby had to cut out quite a lot of the very hard cement – the dust was horrific – 6 weeks after the job was done I still keep finding it! I sealed it as best I could with an old plastic table cloth and tape but it kept coming open and filling the house with dust. I added wood and a broom which helped it work much better!
Image

Here is what J had to cut out with the angle grinder, it was supposed to be ‘just’ a 3cm block off the top as the door is slightly higher than the opening, that was fine, went quite quickly and we didn’t get too much of a mess:
Image
Then when J went to put the wooden frame in in discovered that the sides were not straight so he had to cut out a not inconsiderable bit almost to the floor. This is when the dust really got everywhere as it was a bit wider so it was blowing more and the kids left both the kitchen door and the bedroom door open at various points (what were they thinking ) so we had about an hour just clearing up to bearable.
Image

The next day it all was worth it when I came home to find this:

Image

It has a door so it must be a room now!

The barn door type opening at the front was refitted by himself so that instead of opening inwards like a door it now opens outwards like a shutter. This meant we could install a window finally – it still needs painting finished and fascia / render over the breezeblock / foam but the excitement of having a window can’t be underestimated! We were so lucky to find a preloved window that fitted in this very strange shaped hole for a window as otherwise we would have needed to get a custom made one made.

Image

And the (not) carpet going in so there is a clean floor not just concrete until we tile!
Image

And ta da – minutes before himself came back from the airport with my mother in law I’d finished cleaning and making up the room. I think it looks pretty good considering it is only 1/2 finished and still needs the window painting, further coats of lime render and the ceiling joints doing and painting and the stone wall pointing!

Image Image Image