I have been wanting to do a quilt for ages and been too scared to a/ choose lots of fabrics that will work together and b/ actually tackle it! I was recently in Wollongong and decided to take the opportunity of a visit to Spotlight to see if I could come up with a quilt for my lovely old friend’s new baby boy (old as in we have been friends for 25 years, not old as in old – we are born the same day so I obviously don’t mean that!). I had it all planned in my head – mega simple lines with fun primary colours, not too babyish bolds. I bought 6 different colours and then corresponding quantity of backing fabric (except I got confused and ended up with way too much fabric for the front – oops!). The fabric is a nice sturdy drill cotton which I hope means it will wash and last really well and is tough enough to go on the grass for little William to lie on and soft enough to be used on his cot or bed.
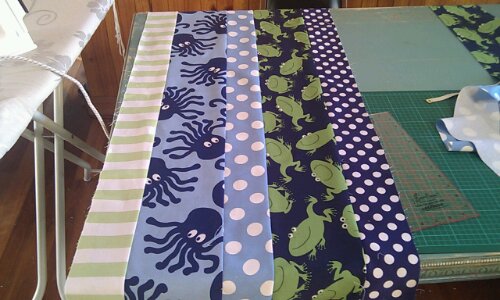
Step one was trying to work out how it would all go together:
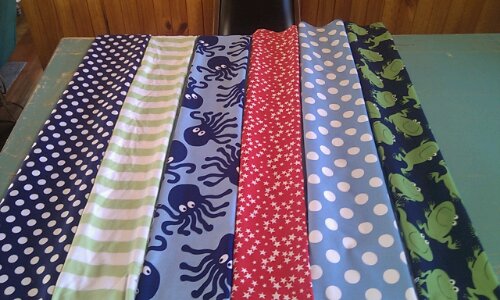 Himself was very anti having the red in the main part of the quilt. So I took it out (as actually he was right but don’t tell him I said that!) and this is what I came up with as my final order:
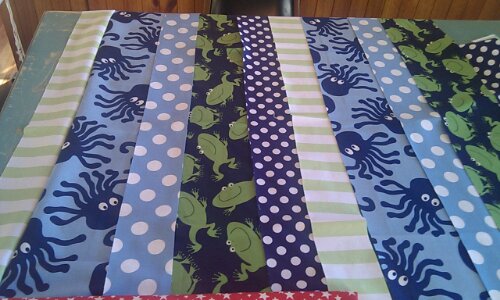 You can just see the red at the bottom and that is what I’m going to use for the binding! I think it adds a little bit of contrast and ties in the front and the backing colours well.
Step 2 was cutting the strips of material, I cut 2 different widths to add a little interest. I used my rotary cutter and mat and wide ruler so it was pretty quick and easy and my lines were good and straight (and this point I was very happy to have gone with my instinct not to have tried anything complicated for my first effort!).
Step 3: off I went sewing – lots and lots of straight lines! And lots and lots of ironing as I went (my poor iron only gets used for sewing and work shirts!), you really must iron though otherwise your lines will just look wonky and horrible.
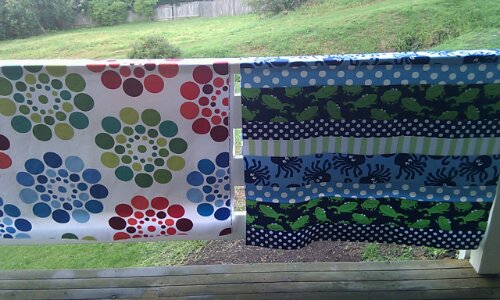
Here is the front all done 🙂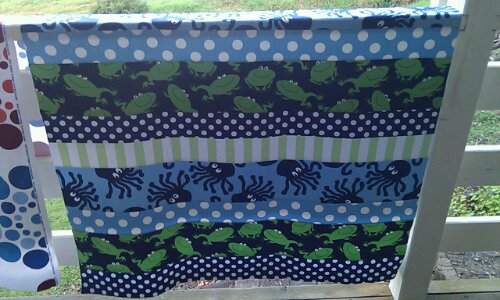 And the front with the back next to it:
 Step 4: Next I scoured the internet for how to actually do the quilting bit and ended up using the ‘tape the damn thing to the wooden floor and pin pin pin’ method! I was pretty happy with how that worked for me, I’m sure I took some pics but will have to add them later as they seem to have gone walk-about.
Step 5: Let the quilting begin! I decided to do a simple line either side of each seam (I think this may be called ‘in the ditch’ but I’m not sure as it is not actually in the ditch more like just on the side ;). There was no way I was going to do anything more complicated and I think for this quilt the simplicity works. My dilemma here was what colour thread to use. I originally thought red as that would tie in the back, front and binding but himself again vetoed that and said navy would be better. I promptly ignored the damn thing for days as this was a decision too many for my indecisive brain! A lovely friend on the Tree suggested that I do one colour in the bobbin and one in the top which solved all my problems! So navy on top and red on the bottom and I love how it is turning out:
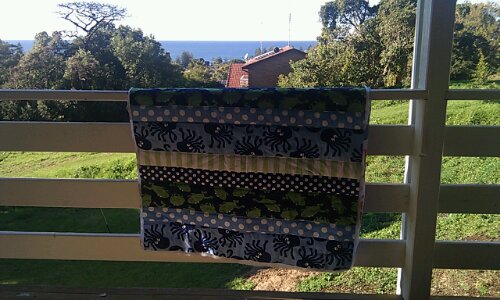 I’ve only done one side of the seam so far and it is already starting to look a bit puffy and quilt like – success!
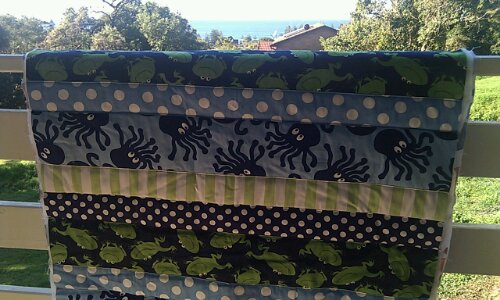 It is hard to see but it is blue, will have to get a closer pic! Here is the back, I’m really glad it is red, I think it works in a way that navy wouldn’t have:
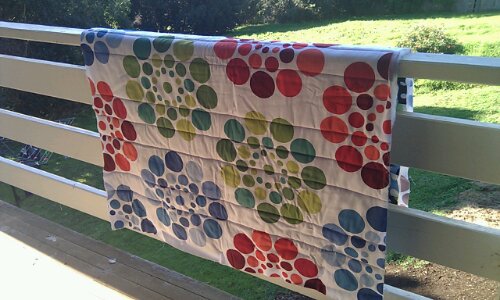 Hmmm that is not very easy to see either but you get the idea!
Unfortunately life has got in the way in the last month with lots of work (including 8 days straight at one point!) and a 5 day trip to Orange to visit my little sister in her new life up there. All this has caused havoc for my sewing and alas it remains no further on than these pics from a month ago.
I’m determined to make some sewing time soon and will update as soon as I do.

Well done Tory. Yes the red would not be in his place. Qu’est-ce que tu fais pour le tour?
X
Gorgeous Tory, good work . Hope you get the time for the last push! X x
Looks brilliant!!!
Loads of love
Dadxxxxx
Fantastic lovely!! Very impressed…and quilting on the machine! I would never go there, clearly you are more brave than me xxxx